You grab a lump of clay, full of excitement for your first project. It feels perfect at first. But hours later, cracks spiderweb across your sculpture because it dried too fast. Sound familiar? That happened to my friend Sarah on her initial attempt at a simple ornament. She switched clays and nailed a sturdy piece that lasted years.
Picking the right clay saves you time and hassle. It cuts frustration and raises your odds of success. New makers often overlook this step. Yet it makes all the difference. You’ll avoid waste and build skills faster.
This guide covers key factors to assess first. Then it breaks down top clays like air-dry and polymer options. You’ll get a straightforward path to match clay to your idea. Let’s make your project shine.
Assess Your Project Needs Before Picking Clay
Start here to avoid common pitfalls. Think about your goals. What do you want to create? Flat tiles, round beads, or tall figures? Each needs different clay traits.
Ask yourself these questions. They guide your choice.
- What project type fits your vision? Slabs work for coasters. Sculptures demand buildable clay.
- How durable should it be? Shelf decor can stay fragile. Items kids touch need strength.
- What tools do you have? Ovens bake some clays. Others harden in air.
- How much time can you wait? Quick-dry suits busy days. Slow cure allows tweaks.
- What’s your space like? Small tables favor low-mess picks.
Answer these, and mistakes drop. For example, a jewelry maker picks flexible clay for thin pieces. A parent chooses non-toxic for family fun.
This step takes minutes but pays off big. It matches clay to reality.
Match Clay to Your Creative Vision
Picture your end result. Ornaments hang light and smooth. Figurines stand firm with details. Bowls hold shape without cracks.
Flexibility matters for curves. Stiff clay suits flat work. Quick-dry helps if you rush. Paintable surfaces boost finishes.
Take masks. They need lightweight clay that molds easy. Figurines call for strong builds. Bowls require even thickness to avoid warps.
Know your vision first. Then clay follows suit.
Projects like these thrive with the right match.
Check Your Tools and Space Setup
Look at your setup next. Home ovens bake polymer clays at low heat. Air-dry skips that step.
Ventilation counts for baking smells. Fans help. Cleanup varies too. Water softens some; oil wipes others.
Small spaces suit contained clays. Kid areas need safe, washable picks. No kiln? Plenty of options exist.
Test your spot. Bake a scrap if needed. Adjust for comfort.
Factor in Time and Budget Limits
Time shapes choices. Air-dry sets in hours or days. Baking finishes in 30 minutes.
Budgets stay low for starters. Packs cost $5 to $15. Reusable clays save more over time.
Cheap buys tempt but often crack. Quality under $20 beats regrets.
Balance these, and you’re set.
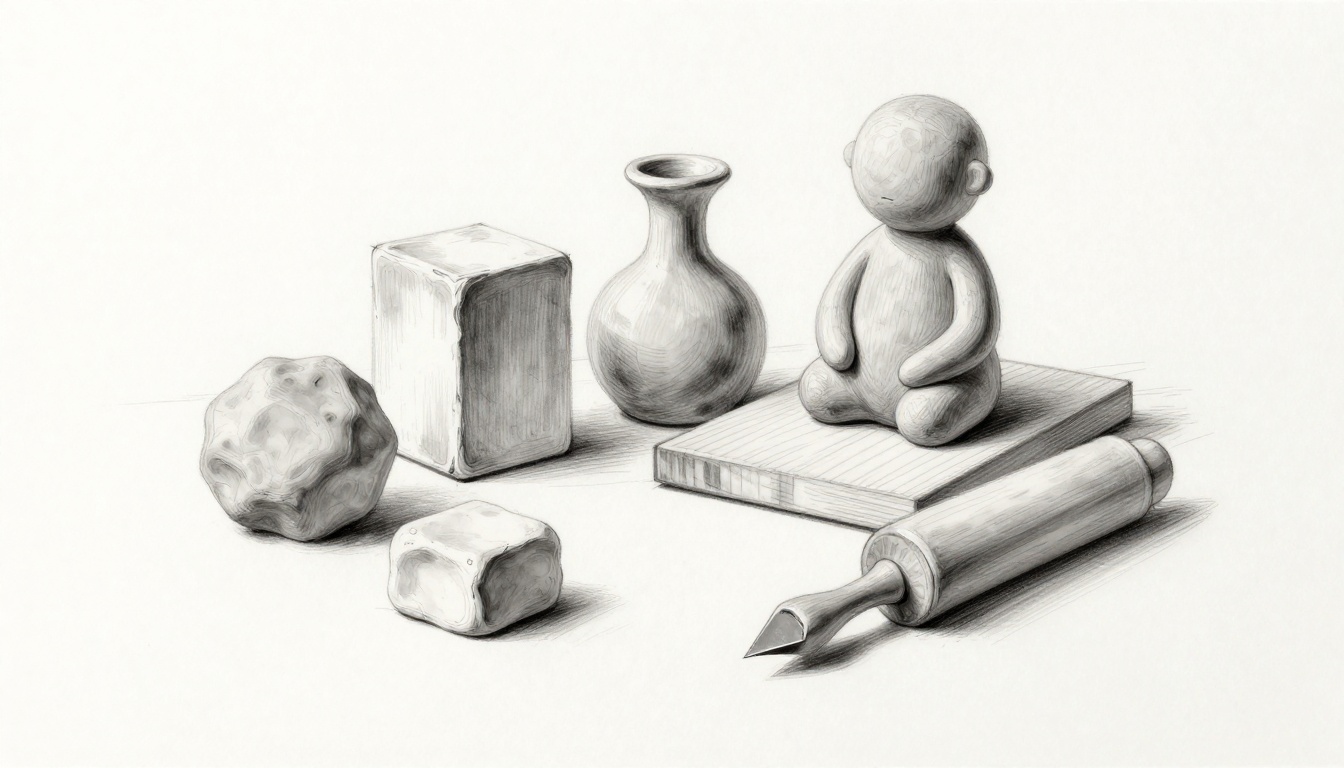
Discover the Best Clay Types for New Makers
Four clays stand out for beginners. Each suits different needs. Air-dry hardens alone. Polymer bakes strong. Modeling stays soft. Oil-based details fine.
Pick based on your assessment. Here’s the breakdown.
For more on beginner options, check types of clay for beginners from Blick Art Materials.
Air-Dry Clay: Effortless Hardening at Room Temperature
Air-dry clay wins for simplicity. It hardens without heat. Brands like Crayola or DAS cost little and model easy.
Pros include light weight and paint acceptance. Kids love it. Schools stock it often.
Cons? It’s not waterproof. Seal pieces for moisture. Fragile if thin.
Best for ornaments or masks. Roll flat, cut shapes, dry 24 hours. Seal with varnish.
Tips: Work in layers. Dry slow in shade. Paint after full cure.
See how it forms smooth details.
Polymer Clay: Bake It to Perfection in Your Kitchen
Polymer clay packs color and strength. Sculpey or Premo come in bright hues. Bake at 275°F for 15 minutes per quarter inch.
Pros: Durable after cure. Holds tiny details. Endless mixes.
Cons: Oven needed. Burn risks if hot too long. Use foil pans.
Best for jewelry or figurines. Condition by kneading. Shape, bake, cool.
Safety first: Ventilate well. Avoid food ovens. Test temps.
Once cured, it lasts forever.
Modeling Clay: Soft and Ready for Endless Practice
Modeling clay, like plastilina, never hardens. Reuse it daily.
Pros: No cracks from drying. Soft for practice. Cheap long-term.
Cons: Stays pliable. Not for final display.
Best for prototyping. Test ideas before committing. Learn coils or slabs.
Store in bags. Warm in hands. Wipe tools clean.
Perfect starter for techniques.
Oil-Based Clay: Sculpt Pro-Level Details Easily
Oil-based clay stays moist forever. Smooth texture aids fingers.
Pros: No drying. Fine lines easy. Pros use it.
Cons: Oily mess. Stains cloth.
Best for armatures or display sculptures. Build over wire. Detail heavy.
Cleanup: Soap and water. Avoid porous surfaces.
It rewards patience with pro results.
| Clay Type | Best For | Needs Oven? | Dries Hard? | Cost per lb (2026 avg) |
|---|---|---|---|---|
| Air-Dry | Ornaments, masks | No | Yes | $5-10 |
| Polymer | Jewelry, figurines | Yes | Yes | $8-15 |
| Modeling | Practice, prototypes | No | No | $4-8 |
| Oil-Based | Detailed sculptures | No | No | $6-12 |
This table shows quick fits. Choose by your needs.
Buy Smart and Launch Your First Clay Adventure
Shop craft stores, Amazon, or sites like Sculpey products for beginners. Read labels for “beginner-friendly.”
Starter kits under $15 include tools. Avoid no-name cheapies; they flake.
Store airtight. Keep cool. Eco clays rise in 2026 trends.
Basic tools: Rolling pin, cutters, glaze.
Knead first. Shape next. Finish with polish.
For storage tips, see Clay storage guide from The Spruce Crafts.
Spot Quality Clay on Any Budget
Check packaging. Fresh clay smells neutral. Colors pop bright.
Reviews praise workability. 1lb packs run $7 average.
Test softness. Bounce back means good.
Test Clay with a Quick Home Experiment
Stretch a piece. Does it tear or hold?
Poke and smooth. Check recovery.
Dry a sample. Note time and strength.
Matches your style? Keep it.
Skip These Beginner Traps Right Away
Humidity warps air-dry. Work dry days.
Don’t overwork polymer; it heats.
Store wrong, and it hardens early.
Dodge these for smooth sails.
Organize like this for success.
Your process works: assess, pick, buy, test. Start small. An ornament builds confidence.
Grab air-dry this week. Share your make in comments. What project calls you?
Success comes from the right start. Hands in clay beat perfection every time. Go create.
(Word count: 1492)