You stare at that pile of hard, cracked dry clay scraps on your workbench. They look useless now, a sad reminder of past projects gone wrong. But those scraps can turn back into soft, workable clay with a little effort.
Rehydrating them saves money because you skip buying new bags. It also cuts down on waste, which helps the planet. Best of all, you use items you already have at home. This method works for earthenware or stoneware bits from wheel throwing or hand-building.
You’ll assess your scraps first, gather basic tools, soak and knead step by step, test the texture, store it right, and fix any issues. Get ready to make more pots or sculptures without extra spending. Let’s turn trash into treasure.
Check Your Clay Scraps Before You Start Rehydrating
Assess your scraps right away. This step sets you up for success and avoids big headaches later. Dry clay comes in types like earthenware scraps, which turn red when fired, or stoneware, which stays gray.
Look for clean, fully dry pieces without mold or dirt. Good candidates feel brittle but show no signs of chemicals or heavy grit. Skip batches with funky smells; they could ruin your next project.
Run a quick snap test. Break a piece; it should crack cleanly without bending. Do a sniff test too. Fresh clay smells earthy, not sour.
Sort scraps by color if you can. Match reds with reds later for even batches. This simple check saves time and frustration.
Bad scraps lead to failed pots. Check first, and you’ll work smarter.
For more on clay types and tests, check this guide from Ceramic Arts Network.
Grab These Simple Household Items to Rehydrate Clay
You don’t need fancy gear. Pull these from your kitchen or garage instead.
Start with a large bowl or bucket. It holds the soaking scraps without spilling. Use clean room-temperature water because it absorbs faster than cold.
Grab a sharp knife or scraper to chop pieces small. An old towel or cheesecloth drains excess water. A big plastic bag or wrap keeps moisture in during kneading.
A spray bottle helps for light misting if needed. Wear old clothes and pick a low-mess spot on your table. Safety first; clay dust can irritate skin.

Basic setup ready for action.
Most homes have these already. No store trip required.
Follow This Easy Step-by-Step Plan to Bring Scraps Back to Life
Now dive into the fun part. This process takes patience but rewards you with fresh clay. Break it down, and it feels simple.
Chop Dry Scraps into Tiny Bits for Faster Soaking
Score your scraps first with a knife. Snap them into pea-sized bits on a cutting board. Smaller pieces soak quicker; think hours instead of days.
Work outside if wind blows dust around. Wear gloves for sharp edges. Avoid grinding; that creates clouds you don’t want indoors.
In short, chop small for speed.
Soak the Pieces in Water Until They Soften Up
Dump bits into your bucket. Cover them with water by 1-2 inches. Stir once a day.
Soak 1-3 days until mushy like oatmeal. Stoneware takes longer than earthenware. Poke to check; soft means ready.
Cover loosely. This stops algae growth. Factors like scrap age affect time, so watch closely.
Drain and Blend into a Smooth Slurry
Pour off extra water through cheesecloth into another bucket. Save that clay water; reuse it next time.
Squish the mush by hand or with a stick. Mix until no lumps remain. Add saved water if too thick. Aim for a pourable, even slurry.
This step blends everything smooth.
Knead and Wedge for Play-Dough Perfect Clay
Spread slurry on a towel to absorb moisture. Fold and knead firmly. Push out air bubbles with your palms.
Test by pinching a bit. It should hold shape without cracking or sticking too much. Rest wrapped for 30 minutes if sticky.
Wedge in a spiral motion for best results. Now you have workable clay.
Nail the Ideal Texture and Avoid Common Hiccups
Perfect texture matters most. Too dry, and it cracks. Too wet, and it smears on your hands.
Aim for firm and smooth, like nasal mucus (yes, that’s the potter’s classic comparison). Flatten a piece; it should bend without splitting.
If wet, spread on plaster or a towel overnight. If dry, mist with your spray bottle and knead again.
Bubbles mean more wedging. Lumps call for screening through cloth. Future cracks often come from uneven moisture, so blend well.
Home testers report great luck with this. One potter fixed a whole bucket of wheel trimmings. Patience fixes most issues.
For troubleshooting tips, see The Pottery Wheel’s rehydration advice.

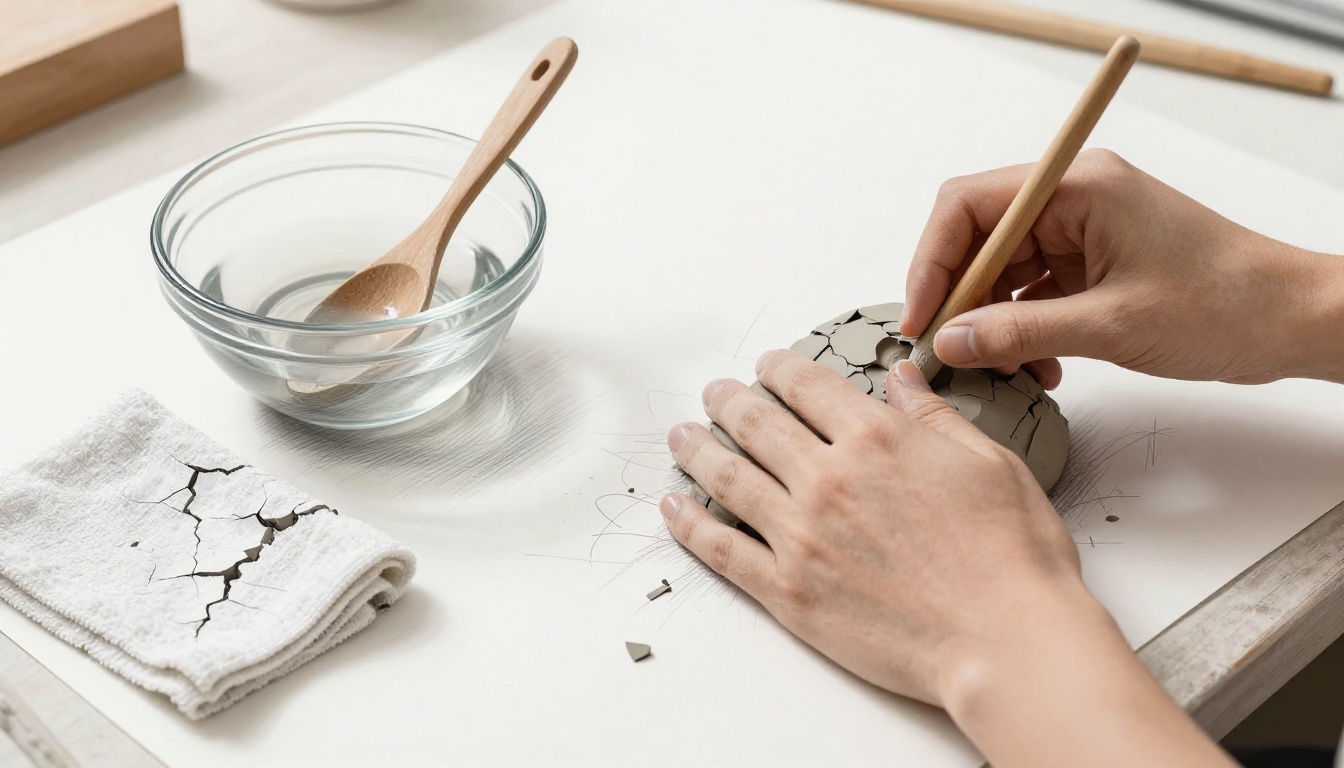
Hands working the clay to perfect texture.
Store Your Fresh Clay Right to Keep It Workable Longer
Seal it tight right after wedging. Double-wrap in plastic, then add a damp towel. Slip into a box with a moist sponge.
Label with date and type. Fridge works for short-term storage, up to two weeks. Toss ping pong balls in the bag; they prevent over-wetting.
Airflow dries clay fast, so check seals daily. Use within a month for best results.
Proper storage means less rehydrating later.
Ready to Reshape Your Scraps?
Reviving dry clay scraps proves easy, cheap, and satisfying. You save cash, reduce waste, and get back to creating.
Anyone can master this with patience. Start small on one handful today.
Share your before-and-after photos in the comments. What projects will you make next? Happy crafting.