Air bubbles inside clay can cause trouble fast. They create weak spots, lead to cracks, and in firing they can add risk when trapped moisture turns to steam and expands around 212°F.
That sounds scary, but the fix is simple. Kneading clay, often called wedging, helps push out trapped air while also making the clay smooth, even, and easier to shape. Think of it as basic prep work that saves frustration later.
If you’re new to pottery, don’t worry. Once you learn the motion, wedging becomes a quick habit before every project.
Get your clay and work surface ready for better results
Start with clay that feels soft and workable, but not slick. If it sticks to your hands like frosting, it’s too wet. If it cracks when you bend it, it’s too dry. The sweet spot is clay that gives under pressure and holds together without smearing.
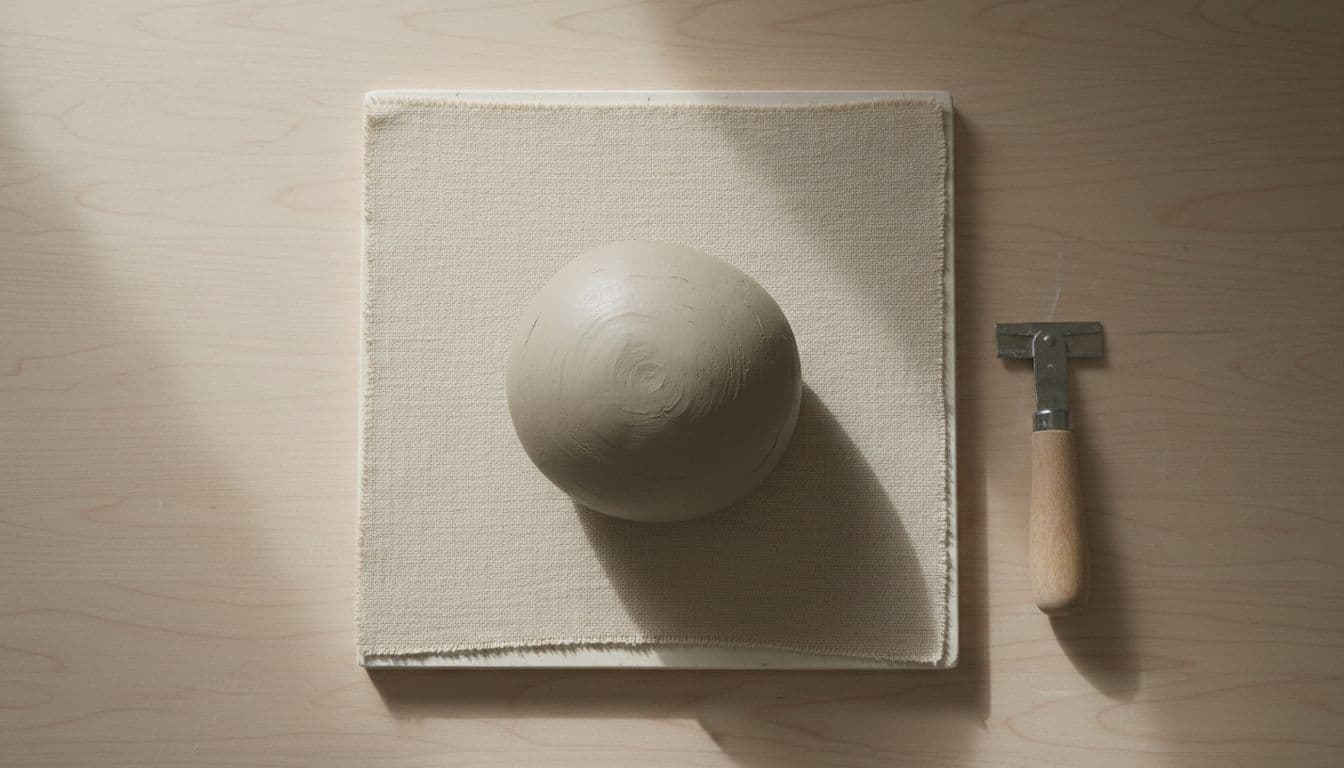
Your surface matters too. A canvas-covered board works well because it grips the clay slightly. A plaster slab also helps, especially if the clay is a bit wet. Avoid glass or shiny tabletops, since the clay can slide instead of folding into itself.
You don’t need much gear. Use a lump of clay, a wedging surface, and a wire cutter or knife. That cutting tool isn’t optional. It’s how you’ll check whether bubbles are still hiding inside.
How soft should the clay be before you begin?
Clay should feel firm enough to push against, yet soft enough to bend without tearing. When it’s ready, your palms can press into it and the surface won’t split.
If it’s slightly dry, mist it lightly and seal it in plastic for a short time. Then test it again. If it’s overly wet, let it sit on plaster or wrapped loosely in canvas until it firms up. Starting with the right texture makes every wedging move easier.
For a visual example of the starting feel and motion, this spiral wedging walkthrough can help.
How to knead clay to remove air bubbles, step by step
For beginners, spiral wedging is usually the easiest method to learn. It removes air well, blends moisture, and leaves the clay in a nice, workable shape.
Use a small to medium lump at first. Bigger batches tire your arms and make the motion sloppy. In most cases, 5 to 10 minutes, or about 50 turns, is enough for a practice-sized piece.
Wedging works best with steady pressure, not brute force.
A simple spiral wedging method beginners can follow
Begin by forming the clay into a ball or short loaf. Set it on the canvas with the taller end pointing up slightly.
Then follow this motion:
- Place one palm near the top front of the clay and the other hand along the side for support.
- Push forward and down with your palms while rocking your body weight into the clay.
- Let the top edge curl over itself as the clay moves forward.
- Turn the clay slightly, usually a small clockwise turn if that feels natural.
- Bring it back into position and repeat the same rocking push.
As you continue, the clay should start to look like a rounded spiral shell. That’s a good sign. You are compressing and folding the mass in a way that pushes air out instead of trapping it deeper.
Keep the pressure smooth and even. If you slam too hard or fold too sharply, you can create fresh pockets. The goal is rhythm, not speed. Many beginners rush because the motion feels awkward at first. Slow down. After a few turns, your hands will find the pattern.

If you want another beginner-friendly take on the same process, this easy wedging guide explains why smaller batches are often easier to control.
How to check if the air bubbles are really gone
Stop halfway through and cut the clay cleanly in half with your wire cutter. Look at the inside faces. You want a smooth, even interior with no holes, tunnels, or dark gaps.
If you see pockets, press the halves back together firmly and wedge again. Then cut and check one more time. This simple test is the fastest way to know whether your clay is ready.
Good clay also feels different in your hands. It becomes more even, less lumpy, and easier to shape. When the texture feels uniform and the cut surface looks solid, you’re done.
Common kneading mistakes that can add more air instead of removing it
The biggest mistake is pressing too hard. Force feels productive, but it often folds the clay too deeply and traps air between layers. A smooth rocking motion works better.
Working too fast causes problems too. When your hands outrun your control, the clay twists unevenly. That can leave hidden pockets inside even if the outside looks fine.
Another common miss is skipping the cut check. You can’t judge the inside by the outside alone. A neat loaf can still hide bubbles in the center.
Dry clay is also hard to wedge well. It tears instead of compressing, and those tears can turn into weak areas later. On the other hand, soggy clay smears across the board and won’t hold a clean spiral shape.
One more thing, don’t overdo it. Too much wedging can start adding air back in. Stop when the clay feels smooth, even, and ready. This guide to wedging techniques for perfect clay shows how potters balance pressure and repetition.
What to do if the clay still has bubbles after kneading
Cut the clay into two pieces and inspect both sides. Then slam the halves together firmly, line them up, and wedge again with slower turns. That reset often clears stubborn pockets.
If the lump still fights you, make it smaller. Smaller batches are easier to control, easier to turn, and less tiring on your wrists. For beginners, that one change can make wedging click.
Good clay prep makes every next step easier
When you wedge well, the clay behaves better from the start. It shapes more smoothly, dries more evenly, and goes into the kiln with less risk.
Practice matters more than fancy tools. A simple board, a wire cutter, and good hand pressure are enough to get clean, bubble-free clay.
Next time you open a bag of clay, take a few minutes to wedge it first. Your hands, and your finished pots, will notice the difference.