Picture this. You roll out clay for a simple mug. Hours pass as you shape it just right. Then cracks spiderweb across the surface because the clay fought you every step.
Clay plasticity describes how well the material stretches, bends, and holds form without crumbling or sticking too much. Think of it like playdough at its best: smooth, responsive, and forgiving.
You check plasticity upfront to dodge waste and rework. It matches your project, whether hand-building or wheel-throwing. Next, you’ll see what plasticity means, tools to grab, step-by-step tests, result reads, and quick fixes.
What Clay Plasticity Really Means and Why It Matters
Clay plasticity boils down to balance. The right mix lets clay stick together yet stay strong. It deforms smoothly under pressure but snaps back into shape.
Good clay feels cool and velvety after wedging. It rolls thin without cracking. You drape it over edges, and it hugs curves instead of slumping.
Bad clay tells a different story. Too dry, it fractures like stale bread. Too wet, it smears and collapses under its own weight.
Why bother checking? It fits your work. Throwing needs stretchy clay. Hand-building calls for coil strength. Failures mid-project waste time and clay. Even drying shrinks evenly only with balanced moisture.
Consider cookie dough. Soft dough spreads nicely for drop cookies. Stiff dough holds for cutouts. Clay works the same way for pots.
Here’s a quick look at signs:
| Trait | Good Plasticity | Bad Plasticity |
|---|---|---|
| Texture | Smooth, slightly sticky | Crumbly or sloppy wet |
| Rolling | Thin sheets hold | Cracks or tears |
| Forming | Holds shapes well | Slumps or breaks |
Spot these early, and your pieces dry uniform. No warping surprises later. For more on clay traits, check Ceramic Arts Network’s plasticity basics.
In short, test first. You save frustration and build better.

Tools and Materials You Need to Test Clay Plasticity
You don’t need a studio full of gear. Hands top the list. They sense moisture and give best.
Grab a rolling pin or wooden dowel next. It flattens slabs even. A cutting wire or sharp knife slices clean samples.
Measure with a ruler or caliper. Aim for 1/4-inch thickness. Keep plastic wrap or a damp cloth handy to store tests.
A bowl of water helps if clay dries fast. Optional: a kitchen scale weighs moisture adds. Pros use moisture meters, but skip for starters.
Clean hands matter. Dirt contaminates clay. Wash up first.
Here’s what to gather:
- Hands for feeling.
- Rolling pin for slabs.
- Wire for cuts.
- Ruler for size.
- Damp cloth for storage.
These cost little. You likely own most. Prep them, and tests go smooth.
Hands-On Tests to Check Your Clay’s Plasticity Step by Step
Pick a fist-sized chunk. Wedge it well first. Work a small sample always. Save the bag for projects.
These tests mimic real use. They reveal if clay suits your plans.
The Ribbon Test: Spot Cracks Early
This test checks stretch for walls or handles.
- Wedge clay firm.
- Roll a sausage shape.
- Flatten to 1/4-inch thick ribbon. Use rolling pin.
- Cut 10-12 inches long.
- Drape over your finger or pin.
Good results curve smooth. No cracks form. It bends gentle.
Bad clay splits along edges. Breaks happen easy.
Thickness stays key. Vary spots for even roll. Test three ribbons. Average them.
It works because it copies pulling up a pot wall. Reliable for throwers.
For details, see the pottery wheel’s ribbon guide.

The Coil Test: Build Strength Confidence
Coils test pull strength for building tall forms.
- Roll 1/4-inch thick coil.
- Make it 18 inches long.
- Shape into a loop or S.
- Set on table.
Strong coils hold shape. No fissures show. They support weight.
Weak ones sag. Cracks open at bends.
Roll steady pressure. Avoid thin spots. Test two coils.
This predicts hand-built jars. Stack coils later with trust.
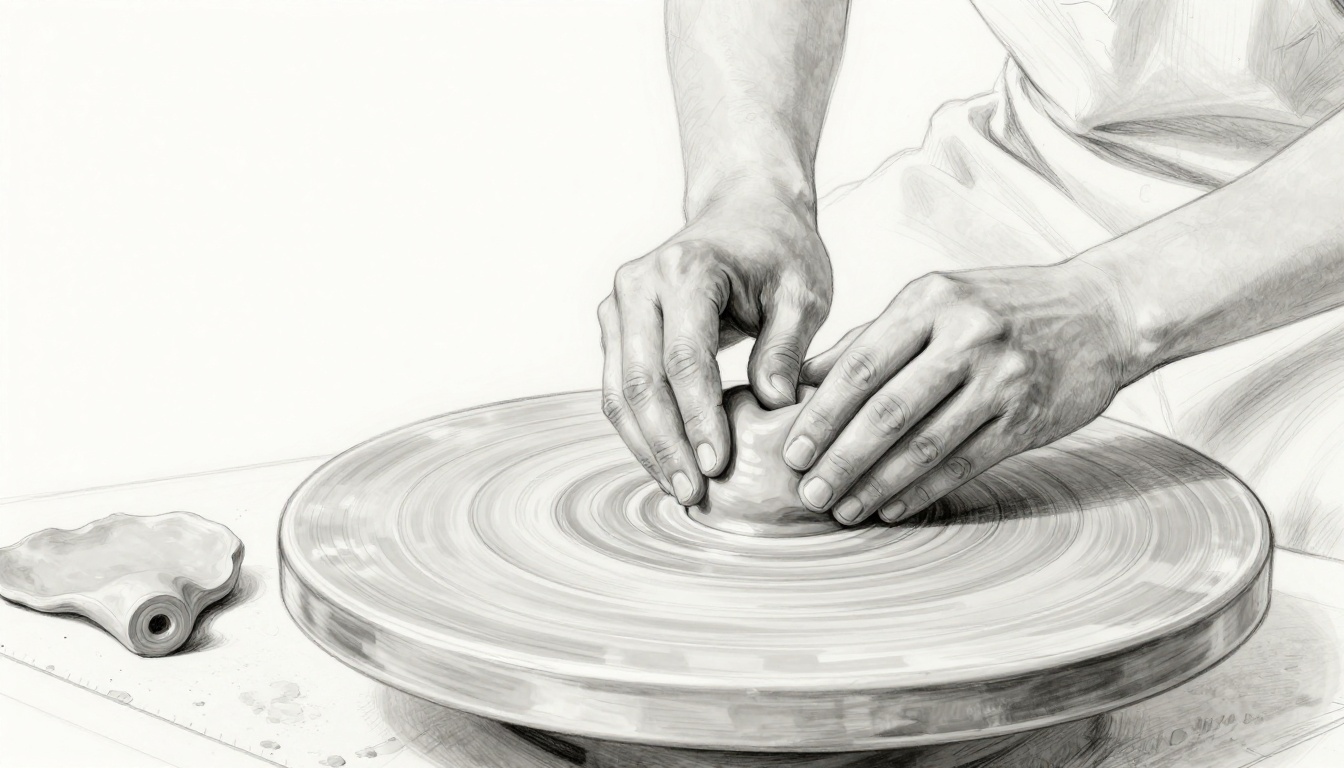
Feel and Squeeze: Your First Gut Check
Start here. No tools required.
- Warm clay in palms.
- Wedge 2 minutes.
- Form golf-ball size.
- Squeeze hard between fingers.
Responsive clay squishes even. It reforms lump-free.
Stiff clay resists then crumbles. Wet clay oozes sticky.
Repeat daily. Your hands learn fast. First check sets tone.
Add the quick dry test. Pat a small disk. Air dry overnight. Even shrink means ready. Warps signal imbalance.
These five cover bases. Run all for full picture.

Decode Your Test Results and Tweak Clay if Needed
Score each test. Pass four of five? Clay works.
All good: start project. Three passes: tweak light.
Too stiff shows cracks everywhere. Add water drop by drop. Wedge deep. Retest ribbon.
Too wet sticks tools. Mix in dry scrap clay. Or spread slabs thin. Air dry under plastic.
Use this table for fixes:
| Result | Signs | Fix |
|---|---|---|
| Too Dry | Cracks, crumbs | Add water, re-wedge |
| Too Wet | Sticky, weak | Dry slabs, add dry clay |
| Balanced | Smooth, strong | Go make pots |
Log results per bag. Batches vary. Control room humidity. Warmer spots dry faster.
Recycle fails. No toss. Slake in bucket. Reform later.
Tweak smart. Retest always.
Extra Tips for Always-Ready Clay in Future Projects
Store right. Use damp box with plaster. Keeps even moisture.
Buy quality from US suppliers like Laguna Clay. Check specs.
Acclimate bags to room temp. Cold clay stiffens.
Winter dry? Add water before use. Humid summer? Dry slight.
Wedge every time. Removes air pockets. Builds evenness.
Myth: All clays plastic same. No. Earthenware stretches more than porcelain.
Test new bags always. Share your tweaks in comments below.

Testing clay plasticity pays off every time. Run the ribbon, coil, and squeeze checks first. They catch issues early.
Grab a sample now. Note results. Build without fear.
Share your test stories below. Subscribe for more tips. Happy potting brings joy that lasts.