Imagine shaping a massive clay pot, two feet tall, sturdy enough for plants or water. You crafted it by hand. No potter’s wheel required. The coil method lets anyone stack layers to reach any height. It builds strength gradually.
Large vessels challenge beginners. They slump if rushed. Yet coils solve that. You add height in controlled steps. This post shows you how. First, gather tools. Then prep clay. Next, build step by step. Finally, dry and fire safely. You’ll finish with pro tips to avoid cracks.
By the end, grab your clay. Start your own big pot. Let’s build.
Gather the Right Tools and Materials for Big Coil Projects
Start with quality clay and basic tools. They make large builds possible. Without them, walls crack or sag. Focus on items for pots over 18 inches tall.
Earthenware clay works best for beginners. It has good plasticity. Stoneware holds shape too. Buy 20 to 30 pounds for one large vessel. Grog in the clay adds strength. It prevents slumps during drying.
Store clay in plastic bags. Keep it damp. Wedging removes air pockets. Slam it on a table until smooth.

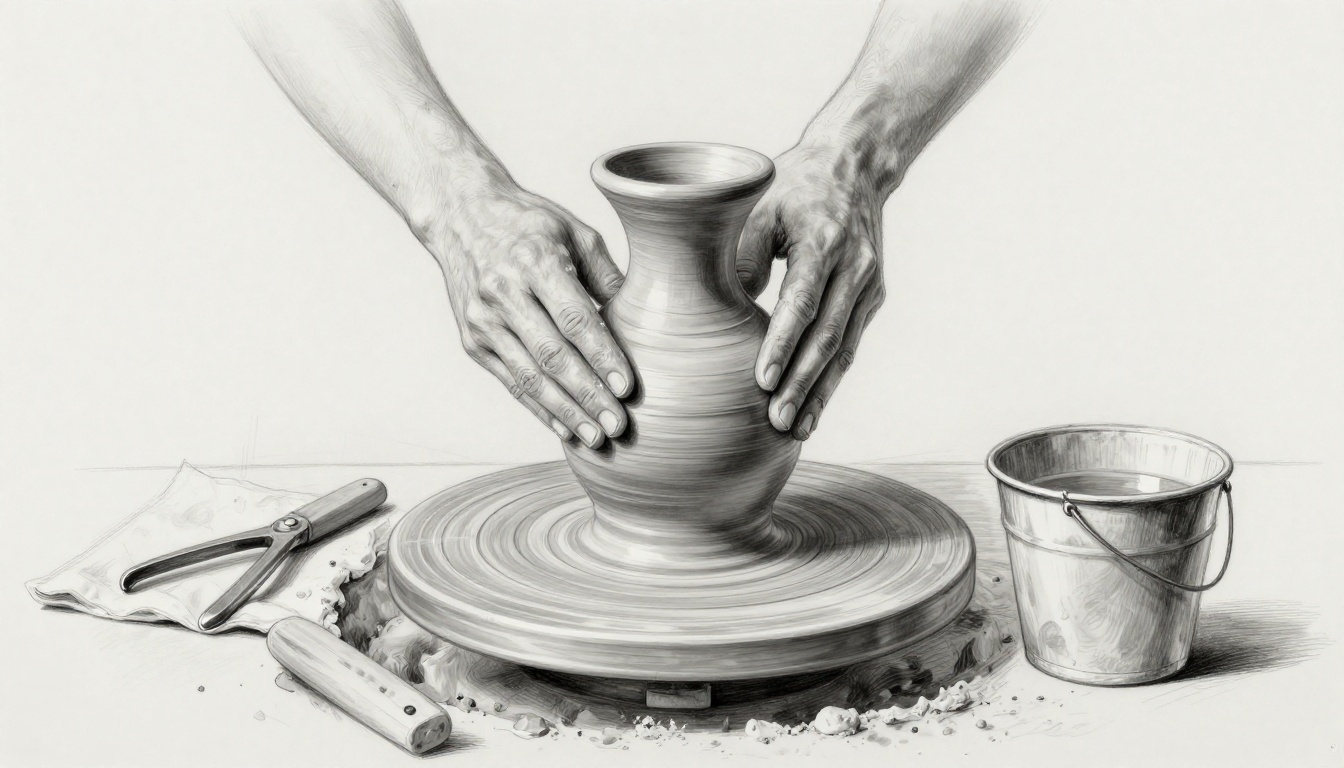
A wire cutter slices clay cleanly. Use it first. Rolling pins flatten slabs and coils. Get a wooden one, 18 inches long. Ribs smooth surfaces. Serrated ribs score for joins. Sponges keep things wet.
Buckets hold slip, a clay-water mix for gluing coils. Make your own or buy premixed. Calipers measure coil thickness. Aim for 1 to 2 inches wide for big pots.
Supports like sand or bats prop walls as they dry. Aprons protect clothes. Dust masks block clay dust.
Budget options abound. Check hardware stores for rollers. Online shops sell kits under $50. For example, Soul Ceramics coil building tools offer starters.
Quantities matter. Two 25-pound clay bags suffice. Ten sponges last months.
Choosing Clay That Stays Strong for Large Builds
Pick clay with grog for large work. Smooth clays sag under weight. Grog, or sand-like bits, adds bite.
Test plasticity. It should feel like firm playdough. Knead a small ball. If it cracks, add water.
Wedging takes 10 minutes. Slice clay in half. Check for bubbles. Slam halves together. Repeat.
For a 24-inch pot, use 25 pounds. Divide into 2-pound balls. Wrap extras tight.
Digitalfire explains grogged clay benefits for strength in tall forms.
Tools You Cannot Skip for Smooth Coiling
Skip calipers at your risk. Uneven coils cause leans.
Serrated ribs score lines. Forks work in a pinch. Wooden rollers ensure round coils. Slats guide thickness.
Rubber ribs blend seams. Keep a level nearby. It checks plumb walls.
These cost under $30 total.
Set Up Your Workspace and Prep Clay Like a Pro
Clean space prevents dust cracks. Pick a table 36 inches high. Cover with canvas. It stops clay from sticking.
Ventilation clears fumes from slip. Open windows. Use fans.
Wedging comes next. Slam clay firmly. Fold and repeat. No lumps allowed.
Make slip by blending scraps with water. It looks like thin cream. Test on scrap coils. They stick fast.
Clean hands often. Wipe tools too. Dry bits weaken joins.
Drying cloths cover pieces. Bats, or plywood slabs, support bases.
Prep takes 30 minutes. Then build.
Build Your Large Vessel Layer by Layer: The Coil Method Steps
Coiling builds big without limits. Go slow. Pause between layers. Here’s how for a 24-inch pot.
- Roll a base slab. Make it 12 inches wide, 1 inch thick. Use rolling pin on canvas. Cut circle with knife.
- Score base edge. Deep X lines. Brush slip on.
- Roll first coil. 1.5 inches thick, 14 inches long. Score bottom. Press onto base. Blend with fingers.
Paddle sides gently. Use a wooden stick. It firms walls.
Check level often. Adjust as needed.

Build three coils. Then stop. Let reach leather-hard. That means firm but bendable. Takes 24 hours.
Resume. Roll longer coils. Snake them up. Overlap ends. Score and slip each.
Laying the Solid Base and First Coils
Base size equals pot height divided by two. Stability first.
Flatten evenly. Trim excess. Score wide. Slip thick.
First coils anchor everything. Press deep. Smooth inside and out.
Weak spots show later. Check now.
Stacking and Blending Coils for Tall, Even Walls
Roll coils uniform. Use slats under roller. 1 inch high by 2 inches wide suits tall pots.
Stack at 45-degree angle. Gravity helps. Score full length.
Blend up and down. Rib inside. Finger outside. No thin spots.
Paddle every layer. Turn pot slowly.
For curves, pinch gently. Straight walls need levels.
Wheel & Clay coil stacking tutorial shows even techniques.
Add five coils per session. Leather-hard again.
Shaping the Rim and Adding Details
Reach height. Flare rim out. Smooth with wet sponge.
Textures add grip. Drag fork lines. Impress leaves.
Handles on big pots? Coil thick ropes. Attach at leather-hard.
Rim stays even. Use calipers.
Dry Slowly, Fire Safely, and Finish with Polish
Large pots crack fast. Dry over weeks. Cover with plastic. It slows evaporation.
Supports prevent flats. Fill with sand. Prop on stilts.
Bisque fire first. Earthenware hits 1940°F. Glaze next at 1950°F.
Dip big pots. Or brush even coats. Community kilns handle size.
Seal with wax for water holders. Polish dry pieces.
Safety rules. Wear gloves. Vent kiln outdoors.
Drying Tricks to Prevent Cracks in Big Pots
Day 1-3: Full plastic cover. Humid spot.
Day 4-7: Loosen edges. Turn daily.
Week 2: Remove cover. Fan gently.
Week 3: Bone dry. Test weight.
BigCeramicStore drying guide prevents warps.
Fix Common Coil Mistakes and Unlock Pro Tips
Uneven coils slump walls. Measure always.
Weak joins crack. Score deeper. Use fresh slip.
Rushing dry splits pots. Patience wins.
Pro tip: Height matches three times coil thickness. Taller needs thicker.
Templates guide curves. Trace on paper.
Practice small pots first. Scale up.
Famous artists like Peter Voulkos inspire. His huge coils twist bold.
Experiment. Your style emerges.
Ready to Coil Your First Large Vessel
You now know coils for big pots. Tools prep right. Steps build steady. Drying saves work.
This method grows skills. Start simple. Soon, massive art.
Grab clay today. Share your pot in comments. What shape first? Subscribe for glaze tips.
(Word count: 1487)