Ever rolled out clay only to watch it crack or warp later? Uneven slabs ruin projects fast. They lead to weak pots or sculptures that dry crooked.
Guide sticks fix that. You place these simple rails on either side of your clay. Then the rolling pin glides over them for perfect thickness every time. Beginners get pro results. You save clay, cut waste, and build better pieces.
This method works with earthenware or stoneware clay. It keeps slabs uniform at 1/4 to 1/2 inch thick. No more guessing or measuring mid-roll. You’ll follow easy steps: gather tools, prep your space, roll with guides, smooth, and store right. Next, let’s grab what you need.
Gather These Must-Have Tools and Materials First
Stock up before you start. Fresh clay rolls best. Pick earthenware for easy handling or stoneware for strength. A 10-pound bag costs under $20 at most suppliers.
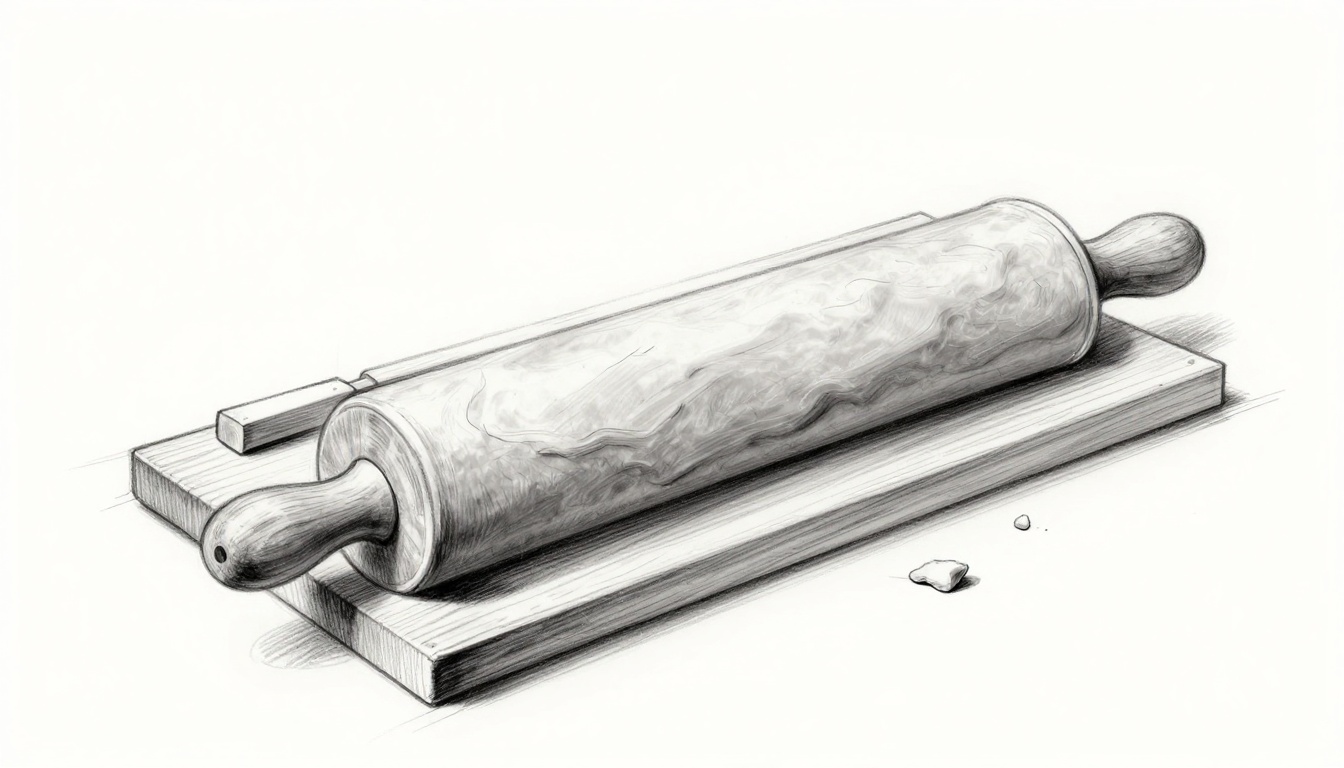
You’ll need a smooth rolling pin. Wooden ones work fine. Acrylic stays clean longer. Guide sticks come next. Cut two dowels to equal length, 1/4 to 1/2 inch thick. They stop the pin from digging unevenly.
Canvas sheets prevent sticking. Lay one down, clay on top, another over if needed. A rubber rib smooths the surface later. Use a cut-off wire for lifting slabs clean.
Grab a spray bottle for water misting. Optional plywood board holds everything steady. Wear an apron to stay clean.
Here’s your list:
- Clay: 5-10 pounds, fresh and moist.
- Rolling pin: 18-24 inches long, no handles if possible.
- Guide sticks: Two matching dowels or paint stirrers.
- Canvas or cloth: Two large sheets.
- Rubber rib or metal scraper: For smoothing.
- Cut-off wire or knife: Sharp edge for clean cuts.
- Spray bottle: Filled with water.
- Plywood (optional): 2×2 feet for a flat base.
Budget tip: Hardware stores sell dowels cheap. Online spots like Soul Ceramics offer kits. Paint stirrers make free guides. Test thickness first. Always start with wedged clay. Air pockets cause lumps.

This setup takes minutes. Now prep your area.
Set Up Your Workspace and Prep the Clay Properly
Pick a sturdy table. Cover it with clean canvas. Dust or bumps ruin flatness. Work in a cool spot. Heat dries clay too quick.
Wear an apron. Tie back hair. Keep water nearby.
Follow these steps:
- Lay canvas flat. Secure edges with tape.
- Wedge your clay (details below).
- Form a rough rectangle patty, 2 inches thick.
- Cut or place guide sticks parallel, 12-18 inches apart.
- Mist canvas and patty lightly. Even moisture matters.
Pro tip: Humid air slows drying. Fans dry slabs uneven.
Wedge Your Clay to Remove Air Pockets
Slam the clay ball hard on the table. Fold it over. Rotate a quarter turn. Slam again. Repeat 50 times. Smooth texture means no bubbles left.
Air pockets pop during rolling. They create holes or cracks. Wedging makes clay pliable. In other words, it rolls even.
For visuals, check this wedging demo. Simple moves build strength.
Position Guide Sticks for Perfect Thickness Control
Measure your desired thickness. Say 3/8 inch. Cut dowels that exact size. Place them on canvas ends.
Push clay scraps under to hold firm. The pin rests on these rails. No dipping. No uneven spots.
Test by rolling the pin alone. It glides smooth. Adjust if wobbly.
Roll Out Your Slab Step by Step with Guide Sticks
Clay patty sits between guides. Dust the pin light with cornstarch if sticky. Firm pressure works best.
Start slow. Keep the pin on guides always. Rotate often for evenness.
Here’s the process:
- Center the patty.
- Roll from middle outward (see below).
- Flip and check midway.
- Finish with light passes.
- Smooth right away.
Clay warms and softens. That’s normal. Mist if edges harden.

Uniform slabs feel steady under the pin.
Start Rolling from the Center and Work Outward
Grip the pin with both hands. Roll back and forth gentle. Increase pressure slow.
Push from center. Clay spreads even. Never shove off guides. Do 5-10 passes.
In addition, turn the slab 90 degrees each time. It stays square.
Flip, Rotate, and Check Thickness Midway
Lift with cut-off wire. Slide under slab ends. Flip onto damp canvas.
Rotate quarter turn. Place back between guides. Measure edges and middle with a ruler. All spots match? Good.
If not, roll weak areas more. This midway check saves time.
Achieve Extra Smoothness During the Final Passes
Roll light now. No heavy force. Grab the rubber rib. Stroke in circles.
Wipe water beads off. Clay shines smooth. Let rest five minutes.
Smooth, Dry, and Store Your Slab Without Issues
Final smooth comes easy. Dip fingers or rib in water. Stroke gentle across top.
Cover with plastic sheet. Wait 1-2 days. Then uncover slow over a week. Warping stops.
Cut to size with wire. Store wrapped in damp towel. Fridge holds it three days max.
For drying facts, see Pottery Wheel’s guide.

Controlled steps keep slabs flat.
Troubleshoot Cracks, Bubbles, or Uneven Spots
Cracks appear? Clay dried too fast. Mist and rewedge.
Bubbles pop up? Poor wedging. Slam and fold more.
Uneven thickness? Pin slipped off guides. Reposition firm.
Slab warps drying? Uneven moisture. Cover longer next time.
Quick fixes work most times. Retry small batches.
Ready for Perfect Slabs Every Time
Guide sticks make even clay slabs foolproof. You control thickness without stress. Projects turn out strong and true.
Try this now on your next piece. Share photos in comments below. What will you build first?
Subscribe for more tips, like slab building basics. Pottery brings joy when slabs cooperate. Roll smooth today.
(Word count: 1487)