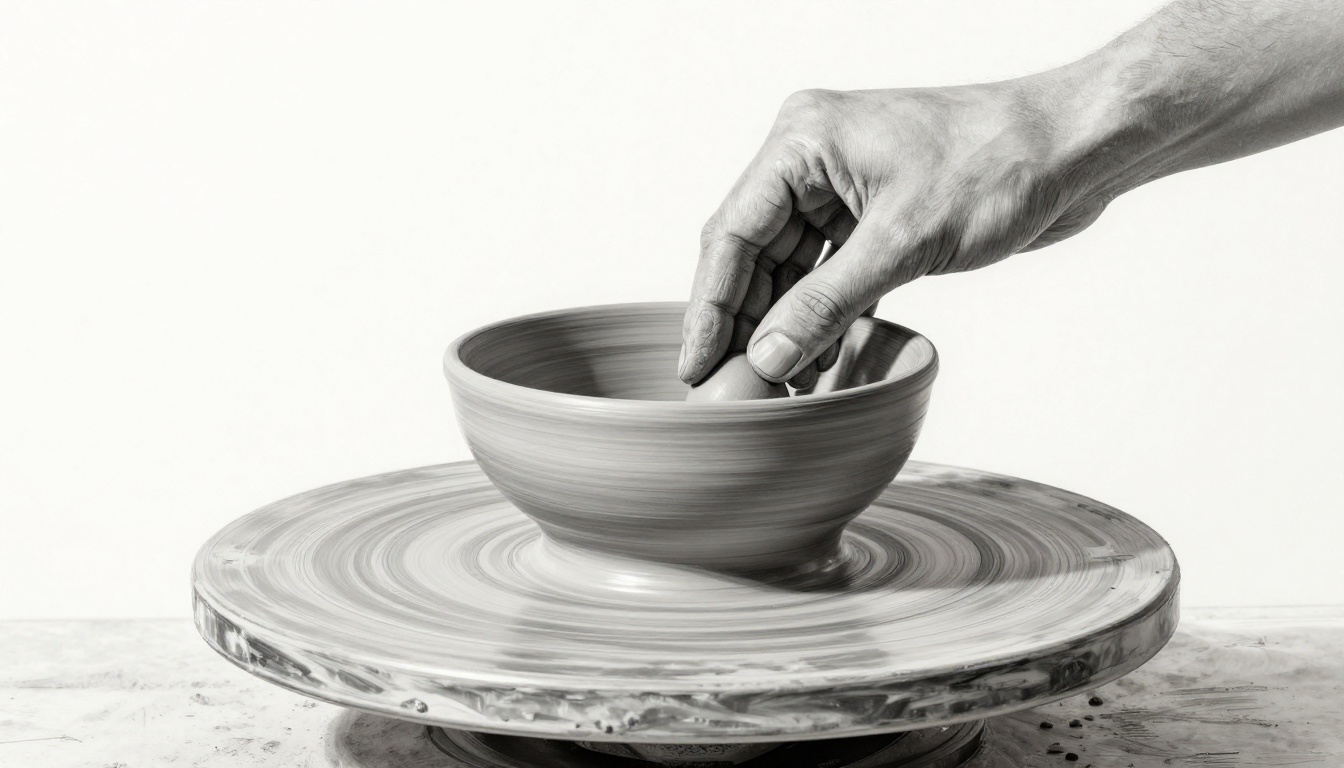
Imagine the satisfaction of pulling a smooth, balanced clay bowl from your hands. It looks pro-level, yet you shaped it yourself. A pinch pot starts simple: you take a ball of clay and use your thumbs and fingers to form a bowl or cup.
Symmetry gives it that polished appeal. Walls match perfectly. The rim stays even. Balance prevents wobbles. Without it, your pot tilts or bulges.
This symmetrical pinch pot tutorial walks beginners through every step. You’ll gather easy materials. Prep your clay right. Master pinching. Check symmetry on the fly. Refine and dry for lasting results. No experience needed. Grab a clay ball and follow along. You can craft one today.
Gather Simple Materials for Your Symmetrical Pinch Pot Project
Start with basics. You need about one pound of clay. That’s a fist-sized ball. Pick air-dry or low-fire earthenware. These hold shape well for newbies. They dry even without a kiln.
Set up costs under $20. Buy clay at craft stores or online. A wooden rib smooths walls. A sponge controls moisture. Add a needle tool for trimming. Calipers or a ruler measure thickness.
Canvas covers your table. It stops clay from sticking. Keep water nearby. A turntable spins the pot for checks. These tools ensure straight walls.
Fresh clay matters. Store it damp in plastic. Test it: it should feel pliable, like firm playdough.
For affordable sources, check Sculpture House clay options. They offer beginner packs.
Choose Clay That Stays Even and Easy to Work
Beginners do best with earthenware. It pinches smooth. Low-fire types fire at cone 04. Air-dry skips the kiln altogether.
Avoid polymer clay. It cracks easy. Natural clay needs wedging. Paper clay lightens pots but weakens rims.
Mid-fat content works best. Too lean cracks. Too fat slumps. Wedge a sample: slam it flat. No bubbles mean it’s ready.
Grab a one-pound block. Dust irritates lungs, so work wet. Wipe hands often.
Tools That Guarantee Straight Walls and Smooth Edges
Your thumb starts the hole. Fingers build walls. The wooden rib scrapes lumps flat.
Sponge wets clay just right. Too dry, it splits. Needle tool cuts excess base.
Calipers match wall thickness. Ruler checks height. A lazy Susan spins for wobbles.
Source them cheap at hobby shops. These keep edges crisp and even.

Prep Your Clay and Workspace for Smooth Pinching
Wedging removes air. Air pockets crack pots. Slam the ball on canvas. Knead like bread dough. Roll and fold 50 times.
Form an even sphere. About three inches across. Cover unused clay.
Set up a sturdy table. Dampen canvas. Place water bowl close. Clean hands prevent grit.
No rings. They gouge clay. Even moisture stops warping. Dry spots bulge later.
For wedging demos, see this Ceramic Arts Network guide.
Work in good light. It shows flaws early.
Wedge until smooth. Press hard: no gritty feel. Your pot stays symmetric because of this step.
Master the Core Pinching Technique Step by Step
Sit comfy. Steady elbows on table. Hold clay ball in palm.
Support bottom firm. Rotate slowly. Pinch gentle.
Build small first. Aim three to four inches wide. Walls quarter-inch thick.
Pressure goes outward and up. Alternate sides. Keep pace slow.
Body stays relaxed. Hands don’t shake.
Poke the Perfect Center Hole Without Cracks
Palm cups bottom. Dominant thumb presses center.
Go one-third deep. Rotate as you push. Feel even resistance.
Too deep thins bottom. It flops. Stop at half height max.
Support walls with fingers. No cracks form.
Build Uniform Walls by Pinching in Pairs
Pinch opposite spots. Thumb inside, fingers out.
Alternate pairs. Measure often. Walls stay quarter-inch.
Roll fingers on rim. It evens out.

Proven Tricks to Nail Perfect Symmetry as You Pinch
Spin pot often. Wobbles show fast. Use turntable or hand.
Calipers check walls. Measure base, middle, rim. Match every time.
Mirror sides. Pinch left, then right same.
Lamp trick: light from side casts shadows on bumps.
Add slip to thin spots. Scrape bulges. Patience wins.
Practice three pots. Compare them side by side.
For more tips, try The Potter’s Studio symmetry checks.
Rotate constant. Eyes spot leans.
Spot and Fix Uneven Areas Instantly
Run finger on rim. Feel lumps. Rib smooths them wet.
Spin test: does it rock? Pad low side with slip.
Touch everywhere. Smooth as you go.
Measure Twice for Walls That Match Everywhere
Calipers at three spots. Base quarter-inch. Rim same.
Record numbers. Adjust slow.
Mark levels with tool if needed. Consistency builds skill.

Refine, Dry, and Fire Your Pot to Perfection
Trim base flat. Needle tool slices excess.
Smooth inside out. Sponge dries surface.
Cover with plastic. Dry one to two weeks slow.
Fast dry cracks. Bisque at cone 04 if firing.
Glaze for shine. Fire again cone 05-06.
Display on shelf. It impresses.
Smooth Every Surface for a Pro Look
Rib exterior curves. Sponge interiors.
Burnish with spoon back. Patterns impress symmetric.
Keep designs balanced.
Dodge These Beginner Mistakes for Flawless Results
Uneven wedging traps air. Bubbles burst later. Slam harder next time.
Dry clay cracks. Mist often.
Skip measures, get lopsided. Check constant.
Rush dry warps. Cover always.
What if it wobbles? Rewedge and restart. Practice fixes all.
You learn fast. Each pot improves.
Symmetry comes with reps.
Keep Creating: Your Path to Pottery Joy
Pinch pots build skills quick. Wedge even. Pinch pairs. Measure often. Dry slow.
Symmetry turns basic into beautiful.
Try one now. Share your photo below. What’s next: coil pot combo?
Pottery calms the mind. Hands busy, worries fade. Make more.