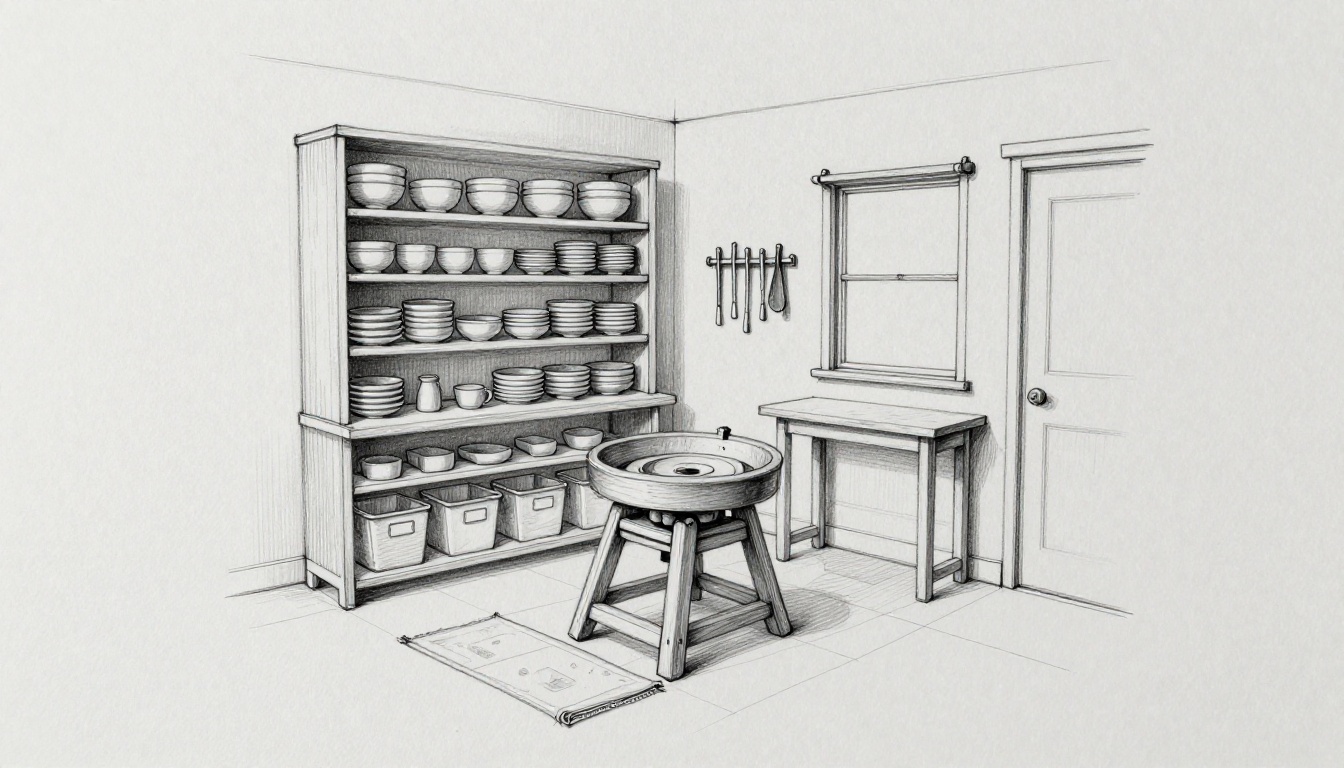
Picture this: You step into your tiny spare room turned pottery studio. Clay dust coats the wheel. Tools hide under bats. Frustration builds fast because you can’t find that one rib. Then, after a simple reorganization, pots dry neatly, tools grab easy, and ideas flow without mess blocking you.
Small home studios often squeeze into closets, garages, or corners under 100 square feet. Clutter steals time, sparks accidents, and kills creativity. Good organization fixes that. It saves hours weekly, keeps spaces safe, and lets you focus on making.
You can organize a small home pottery studio with budget-friendly steps that fit any tight spot. This plan starts with assessment, builds zones, adds storage smarts, and ensures safe flow. Follow along for a setup that boosts your pottery joy.
Map Your Space and Gear Before You Start
Start here to avoid regrets. Measure your room down to the inch. Note doors, windows, outlets, and vents. These shape your small pottery studio layout.
Sketch a floor plan first. Use paper or a free app like Floorplanner. Draw walls true to scale. Mark fixed items like plumbing or heat sources. This blueprint guides every choice.
Think about your habits too. Do you wedge clay daily? Throw pots often? Plan around that. Prioritize big items like the wheel and kiln. In spaces under 100 square feet, multi-use spots save the day.
Inventory your gear next. List everything from clay buckets to glaze jars. Categorize by use. Decide what stays and what goes. This clears mental fog.
For example, in a 10×10 room, place the wheel central with 3 feet clearance. Sink nearby cuts trips. Drying racks go opposite windows to dodge drafts.
Inventory helps spot space hogs. A pugmill eats room. Consider off-site storage if you rarely use it.
Plan workflow last. Map steps from wedging to firing. Group tools close to cut steps and spills.
Measure Every Inch and Sketch a Floor Plan
Grab a tape measure and graph paper. Measure length, width, height. Note ceiling fans or pipes overhead.
Mark high-traffic paths. Keep 36 inches around the wheel for smooth spins. Position near a window for light, but away from direct sun that dries clay fast.
Humidity matters. Windows let moisture in. Seal gaps or use a dehumidifier.
Here’s a basic 10×10 layout example: Wheel in center-south. Sink east wall. Drying racks north. Glazing table west. Kiln corner if it fits.

This visual keeps plans realistic. Adjust for your outlets.
List Your Tools and Supplies Honestly
Make categories. Wet clay in one group. Dry tools like ribs and calipers in another. Glazes separate. Bats stack together.
Note big items: kiln, slab roller, extruder. Small studios skip nice-to-haves like a full pugmill.
Ask yourself: Do I use this weekly? If not, store elsewhere or sell it. Keep must-haves: wheel, bats, wedging board, basic glazes.
For details on essential tools, check this pottery supply checklist.
Honest lists prevent overload.
Plan Flow from Clay to Finished Pot
Workflow goes linear: Prep clay, throw, alter or trim, dry, glaze, bisque fire, glaze fire.
Group zones accordingly. Wedging near wheel. Drying after trim area. Glazing last before kiln.
Minimize steps. Place sink central. This cuts water spills across room.
Describe it simple: Imagine a U-shape. Enter at clay prep. Curve to wheel. End at glazing rack. No backtracking.
This flow keeps you making, not cleaning.
Create Smart Zones for Every Pottery Step
Zones keep mess contained. Divide into four main areas: wheel, clay storage, drying, glazing. Add tools as fifth if space allows.
Use painter’s tape or rugs for boundaries. Compact zones fit small rooms. They prevent dust from glazes mixing with wet clay.
Real potters swear by this. One in a garage corner uses shelves to stack zones vertically.
Efficiency shines when you grab tools without hunting.
Wheel and Throwing Station Setup
Pick a sturdy table or wheel stand. Add splash guards to catch water.
Place near water. Sink or hose works. Level the wheel on uneven floors with shims.
Hang bats on nearby rack. Tool tray at arm’s reach holds ribs, sponges, calipers.
Comfort matters. Seat height matches your elbow to wheel head.
Clay Storage That Stays Moist and Ready
Use airtight bins. Heavy plastic totes or damp boxes hold moisture.
Lower shelves for easy lift. Rotate stock first-in, first-out.
Create a damp corner. Plastic sheeting on walls traps humidity.
Label bins by clay type. White stoneware here, porcelain there.
Drying Racks for Greenware Without Dust
Wire shelves work best. Or DIY with dowels on a frame.
Cover with plastic tents for slow dry. Elevate off floor to dodge dust bunnies.
Space pots 2 inches apart for air flow. Nets protect from cats.

Even drying means fewer cracks.
Glazing Area Kept Clean and Contained
Dedicate a table. Drop cloth underneath catches drips.
Jars on a lazy Susan spin easy. Trash bin right there for test tiles.
Wipe daily. Glaze dust harms lungs. Use a mask.
See glazing safety tips from Ceramic Arts Network for more.
Storage Hacks That Make Tiny Studios Feel Huge
Vertical space rules small studios. Walls hold tools. Pegboards organize chaos.
Clear containers show contents. Labels speed finds.
Hardware stores offer cheap wins. Lumber yards sell DIY shelf wood.
Every inch counts. Doors get hooks too.
Go Vertical with Walls and Ceilings
Pegboard hangs tools. Outline shapes with marker for quick returns.
Overhead racks store bats. Magnetic strips grab metal ribs.
Slatwall panels hold bins. Secure to studs for weight.
Ceiling hooks suspend light items like sponges.
Pick Furniture That Pulls Double Duty
Rolling carts move supplies. Under-wheel bins hide extras.
Fold-down tables serve rare tasks like slab rolling.
Storage ottoman doubles as seat near glazing.
Quick DIY Fixes on a Tight Budget
PVC pipes rack bats. Cut lengths, cap ends, mount horizontal.
Repurpose dresser drawers for glazes. Line with plastic.
Over-door shoe organizers hold small tools.
Tension rods divide shelves. Sort sponges from ribs.
These cost under $20 total.

Streamline Workflow and Prioritize Safety
Smooth paths tie zones. Central sink links wet areas.
Quick cleanups maintain order. Habits build calm.
Safety first. Good lights spot slips. Fans vent fumes.
Ergonomics save your back. Bend less with smart heights.
Kiln owners add fire extinguishers nearby.
Design Paths That Keep You Moving Smoothly
Avoid cross-traffic. One-way flow from wheel to dry.
Color-code zones. Blue tape for wet, yellow for dry.
Reset nightly. Tools home in five minutes.
Control Dust, Water, and Mess Easily
HEPA vac sucks clay dust. Squeegees wipe wheels.
Wet-dry shop vac handles water. Mats at doors trap dirt.
Covered bins seal messes.
Safety Essentials for Peace of Mind
Exhaust fans clear glaze fumes. Ground all outlets.
First aid kit stocks bandages, gloves.
Slip-proof mats near sinks. Lock chemicals from kids, pets.
For kiln safety, review NFPA guidelines on small kiln use.
Peace lets creativity thrive.
You now hold the steps: map space, set zones, hack storage, streamline safe flow. Your studio turns frustration-free. More time shaping pots, less hunting tools.
Pick one tip today, like sketching your floor plan. Try it and share results in comments below. What zone trips you up most?
Shape that perfect small studio. Your best pots wait.
(Word count: 1492)