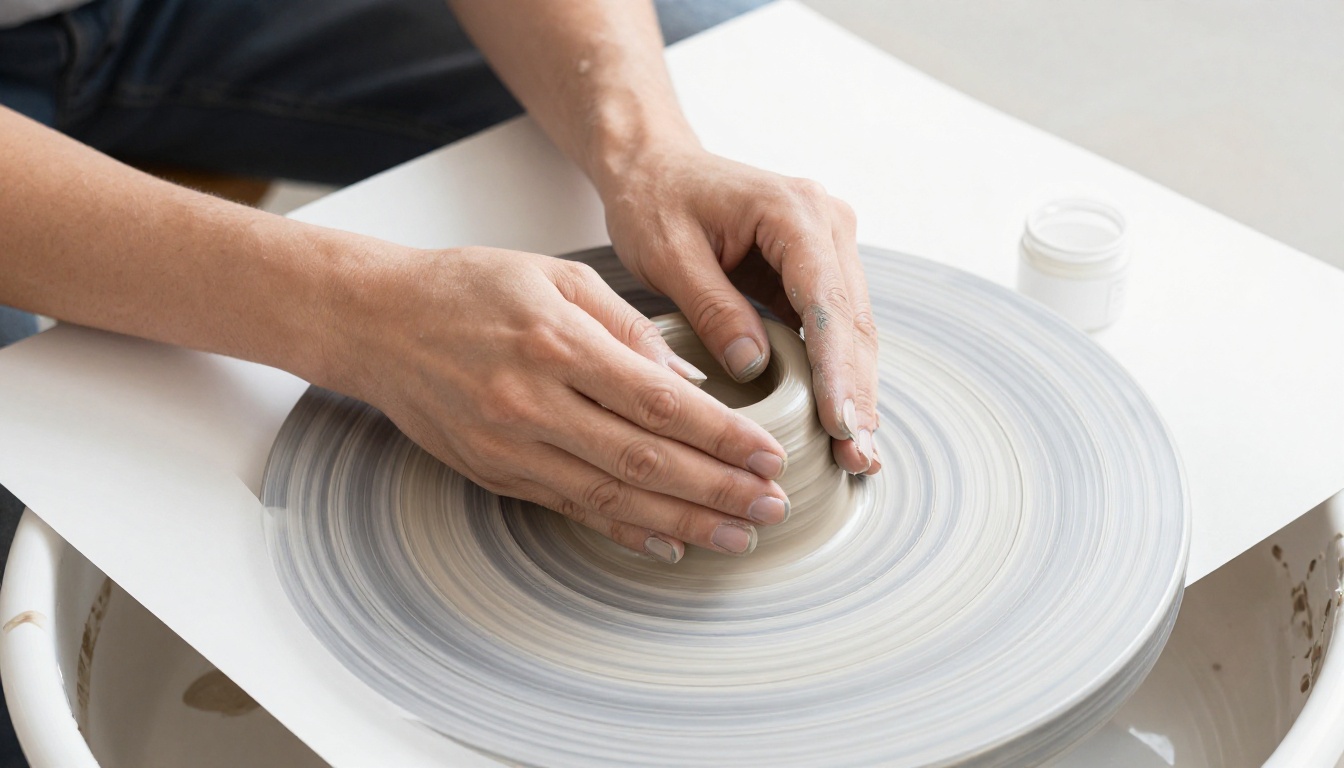
You grab that lump of clay, and the world fades away. Your fingers sink in, shaping dreams into reality. But an hour later, your hands feel tight, cracked, and begging for mercy.
Clay loves water more than your skin does. As you knead and sculpt, it sucks moisture right out of your hands, leaving them dry and sore. If you’ve ever finished a session with red, peeling knuckles, you know the frustration all too well.
The good news? You can protect your hands from drying out while working with clay without pausing your creative flow. Simple barriers keep clay at bay, smart moisturizing locks in hydration, and easy habits prevent cracks before they start. These quick wins mean soft, happy hands that let you create longer and better.
Ready to dive in? First, pick the right barriers to shield your skin from the start.
Why Clay Dries Out Your Hands and How to Spot the Damage Early
Clay robs your hands of moisture fast. Water-based types, like those used in pottery, thirst for water and yank it straight from your skin. They also strip natural oils, leaving hands parched. Polymer clays make it worse because they rely on oils or heat during curing, which dries skin even more. You feel it right away, but ignore it and cracks form. Early spots save you from infections or weeks off the wheel. Artists often share stories of red, peeling knuckles after long sessions. Sensitive or dry skin types suffer most because they lack that extra barrier oil. Act quick, and you keep creating without pain.
Common Clay Types and Their Drying Impact
Different clays hit your skin in unique ways. Each pulls moisture or leaves residue that builds up over time. Know yours, and you choose protection smarter.
Earthenware tops the list for drying power. Its high water content soaks up hydration from your hands as you work. Knead a lump, and it leaves skin tight within minutes. Many potters report raw patches after just an hour. Firing it later releases more dust, which worsens things if your hands stay exposed.
Stoneware dries less than earthenware but still draws moisture. It holds water tighter, so the pull feels steady rather than sudden. You might not notice at first. However, repeated use adds up, especially in humid studios. Protect now, or firing dust irritates cracks.
Polymer clay shifts the game with oils and heat. It grabs skin oils to stay pliable, then baking at low temps evaporates what’s left. Your hands end up flaky and itchy. Sculptors often test it on a small spot first. Smart move, because curing amps the dryness.
Air-dry clay seems gentle, but its powdery finish clings and saps moisture. It dries fast in air, pulling from your skin too. Residue builds under nails, leading to itch. Again, firing or full cure hits harder without gloves.
Test any new clay on a small skin patch first. Wait 24 hours. If redness shows, switch barriers. Artists swear by this habit. It prevents big issues down the line.
Warning Signs Your Hands Need Help Now
Your skin sends clear alerts. Spot them early, and you stop damage before it spreads. Push through, and simple dryness turns to infections.
Watch for these visible cues:
- Tight skin that pulls when you flex fingers; it feels like shrink-wrap.
- White patches or ashy spots, often on knuckles from constant rubbing.
- Fissures or cracks along creases; they sting with every move.
- Redness and peeling around nails or palms, like mild sunburn.
Hidden signs sneak up too. Cuts heal slower because dry skin lacks protection. Itch builds at night, or bending fingers hurts sharp.
Stop clay work right away if bleeding starts or swelling appears. Those mean infection risk. Rinse hands, moisturize thick, and rest. Sensitive skin owners, check daily. Dry types, inspect after each session. Early action keeps you in the studio longer.
Create a Strong Barrier Before Diving into Clay
You need a solid defense before your hands meet the clay. Start with a thick layer of barrier cream or balm, applied 15 to 30 minutes before you begin. This gives it time to absorb and form a protective seal that blocks moisture loss. Reapply a fresh coat during mid-session breaks, especially after rinsing tools or hands. Pick non-greasy formulas that won’t make clay slip or change texture. Lanolin and glycerin shine here because they trap hydration deep in your skin without adding slickness. However, steer clear of petroleum jelly. It contaminates clay, leading to firing flaws or weak polymer cures. These steps let you work longer with soft, protected skin.

Best Barrier Creams and Balms for Clay Artists
Top creams build that essential shield. They use ingredients like lanolin, which mimics skin’s oils, or glycerin, a humectant that draws moisture in. Both hold up under water or oils without breaking down. You stay tactile yet guarded.
O’Keeffe’s Working Hands tops the list for potters. Its beeswax and glycerin mix locks out water fast. Apply it thick pre-session, and it lasts hours on wet clay. For polymer, it prevents oil theft too. Potters rate it 9/10 for grip; polymer users give 8/10 because it absorbs quick.
Bag Balm works wonders next. Lanolin soothes cracks while forming a tough barrier. Potters love it for wheel work (9/10), but polymer artists prefer it less (7/10) since lanolin can feel heavy during baking prep. Still, it heals overnight.
DIY shea butter mixes save money. Blend shea butter, a drop of vitamin E oil, and beeswax. Melt, cool, and jar it. This combo grips clay well for both types (8/10 overall). Customize thickness for your needs.
Here is a quick comparison:
| Cream/Balm | Key Ingredients | Pottery Rating | Polymer Rating | Price Range |
|---|---|---|---|---|
| O’Keeffe’s Working Hands | Glycerin, beeswax | 9/10 | 8/10 | $8-12 |
| Bag Balm | Lanolin, petrolatum-free options | 9/10 | 7/10 | $6-10 |
| DIY Shea Mix | Shea butter, vitamin E | 8/10 | 8/10 | $5 or less |
Buy these affordably on Amazon for O’Keeffe’s or Walmart for Bag Balm. Local farm stores stock Bag Balm cheap too. Test a small batch first. Your hands thank you.
Gloves That Let You Feel the Clay
Gloves add extra protection without killing your touch. Go for thin nitrile or latex-free options. They block moisture pull yet let you sense clay’s give.
These gloves shine because they fit snug and stay out of the way. You shape details like bare hands. However, they tear easy on rough edges, so layer cream underneath first. For wet clay, slip on damp ones; they mold better.
Pros include full coverage on knuckles and no allergy risks. Cons? They warm up fast, and tears mean reapply. Polymer fans pair them with balms to fight oil loss.
Bare-hand lovers have options too. Fingerless nitrile gloves shield palms while freeing tips for finesse. Or try reusable silicone grips over cream. They wash clean and last sessions.
Pick powder-free for less dust. Sizes run small, so order up. Black nitrile gloves on Amazon work great for artists. Combine with cream, and dryness drops big time. You create free.
Moisturize the Right Way During and After Clay Sessions
Barriers protect you before clay touches skin. However, sessions still pull moisture. So, you need smart moisturizing during breaks and right after. Pick thick, unscented formulas that absorb fast and won’t slick up your clay. They restore hydration without weak spots or firing issues. In addition, a quick routine locks it in overnight. Your hands bounce back faster, so you create more.
Top Moisturizers That Won’t Ruin Your Projects
Thin lotions vanish quick. They hydrate for minutes, then evaporate. Thick ointments last hours instead. They form a seal that fights clay’s pull. Plus, unscented ones avoid clay contamination. Test them on scrap first. Dab a bit on clay, shape it, and check texture or cure.
CeraVe Healing Ointment leads for clay artists. Ceramides repair skin barriers, while petrolatum locks moisture. It stays put during wet work and won’t alter polymer bakes. Apply thin mid-session; it grips tools well.
Aquaphor Healing Ointment follows close. Its glycerin draws water in, and lanolin soothes cracks. Potters use it post-wheel without slip. Polymer folks love it because it blocks oil loss. Both beat lotions for longer hydration.
Natural aloe vera gels work too, especially pure ones. They cool redness fast and absorb clean. Pick 99% aloe without additives. Budget pick: store-brand versions cost under $5.
For cheap options, try generic healing ointments or jojoba oil blends. Jojoba mimics skin oils, so clay ignores it. All these stay clay-safe when tested.
Here’s a simple comparison:
| Moisturizer | Key Benefits | Best For | Price Range |
|---|---|---|---|
| CeraVe Healing Ointment | Ceramides, deep seal | All clays | $10-15 |
| Aquaphor | Glycerin, quick soothe | Wet clay | $8-12 |
| Pure Aloe Vera Gel | Cooling, fast absorb | Post-session | $5-10 |
| Jojoba Oil (budget) | Oil mimic, non-greasy | Polymer | $6-9 |
Grab CeraVe on Amazon or Aquaphor at Walmart. Test small batches always.

Build a Quick Post-Clay Hand Rescue Routine
Routines save time and heal fast. Start right after sessions with lukewarm rinses only. Hot water strips more oils. Harsh soaps irritate too, so skip them. Pat dry gentle, then layer lotion immediate. This timing traps water before it escapes.
Here’s a step-by-step for any session:
- Rinse hands in lukewarm water for 20 seconds. Use mild, fragrance-free cleanser if needed.
- Pat dry with a soft towel. Don’t rub; it frays skin.
- Slather thick moisturizer like CeraVe. Massage into cracks and cuticles.
- Add a drop of jojoba oil on top. It seals everything in.
- Slip on cotton gloves. Wear overnight for deep treatment.
For a 2-hour session, reapply during your 10-minute break. Rinse quick first, then ointment. At end, do the full routine. Nightly, repeat even on off days. It builds resilience.
Track changes weekly. Note crack depth or softness on a phone app. You’ll see smoother skin in days. Hands stay ready for clay. Keep this habit, and dryness fades for good.
Build Habits for Hands That Stay Soft Long-Term
Creams and gloves handle sessions well. However, long-term softness needs habits that work from inside out and in your space. You build resilience so dryness never wins. These steps keep hands ready for clay without constant fixes. In addition, they boost your creative time because soft skin means fewer breaks.
Inside-Out Tips: Hydration and Diet Boosts
Water fuels your skin first. Aim for eight glasses a day because clay pulls moisture hard. You sip between sessions, and hands hold hydration better. Dry air makes it worse, so add a humidifier. It keeps room at 40-50% humidity, which fights clay dust too. Run it during work and sleep for steady results.
Food helps next. Omega-rich picks repair skin barriers fast. Salmon packs those fats, so eat it twice weekly. Nuts like walnuts add more; grab a handful daily. Avocados deliver smooth fats too. Spread one on toast mornings. These choices mimic your skin’s oils, so clay grabs less.
Start small. Track water in a bottle app. Swap snacks for nuts. After two weeks, hands feel plumper. You create longer without tight skin pulling you away.
For science-backed proof, check Harvard Health on hydration for skin health.
Workspace Tweaks to Cut Down Dryness
Your setup pulls dryness too. Fans blow moisture away, so turn them off during clay time. Instead, open windows for fresh air without wind. Cover clay scraps in damp cloths right away. They stop dust from floating and sapping skin. Keep a bowl of water nearby too; it adds humidity as it evaporates.
Ventilate smart. Use an exhaust fan over the sink only. It pulls fumes without drying hands. Wipe surfaces damp, not dry, to trap particles.
Gentle weekly exfoliation fits here. Mix sugar with olive oil once a week. Rub light for 30 seconds, rinse cool. It sloughs dead skin so creams sink deeper. However, skip if cracks show; it stings then.
See a dermatologist if dryness lasts. Persistent cracks or pus mean infection risk. They prescribe stronger creams for artists.
These tweaks add up. Soft hands let you sculpt hours daily. Creativity flows free when pain stays gone.

Conclusion
You now know how to protect your hands from drying out while working with clay. Start with a strong barrier like O’Keeffe’s or gloves before you touch that lump. Then, moisturize smart during breaks and after with CeraVe or Aquaphor. Finally, build habits like daily water and workspace tweaks for lasting softness.
Pick one change today, such as applying cream 15 minutes pre-session. It stops tightness fast and lets you shape longer. Soft hands mean more time creating, fewer breaks from cracks or itch.
Share your top tip in the comments below. What works best for your clay type? Subscribe for more artist hacks to keep your hands ready and your art flowing.