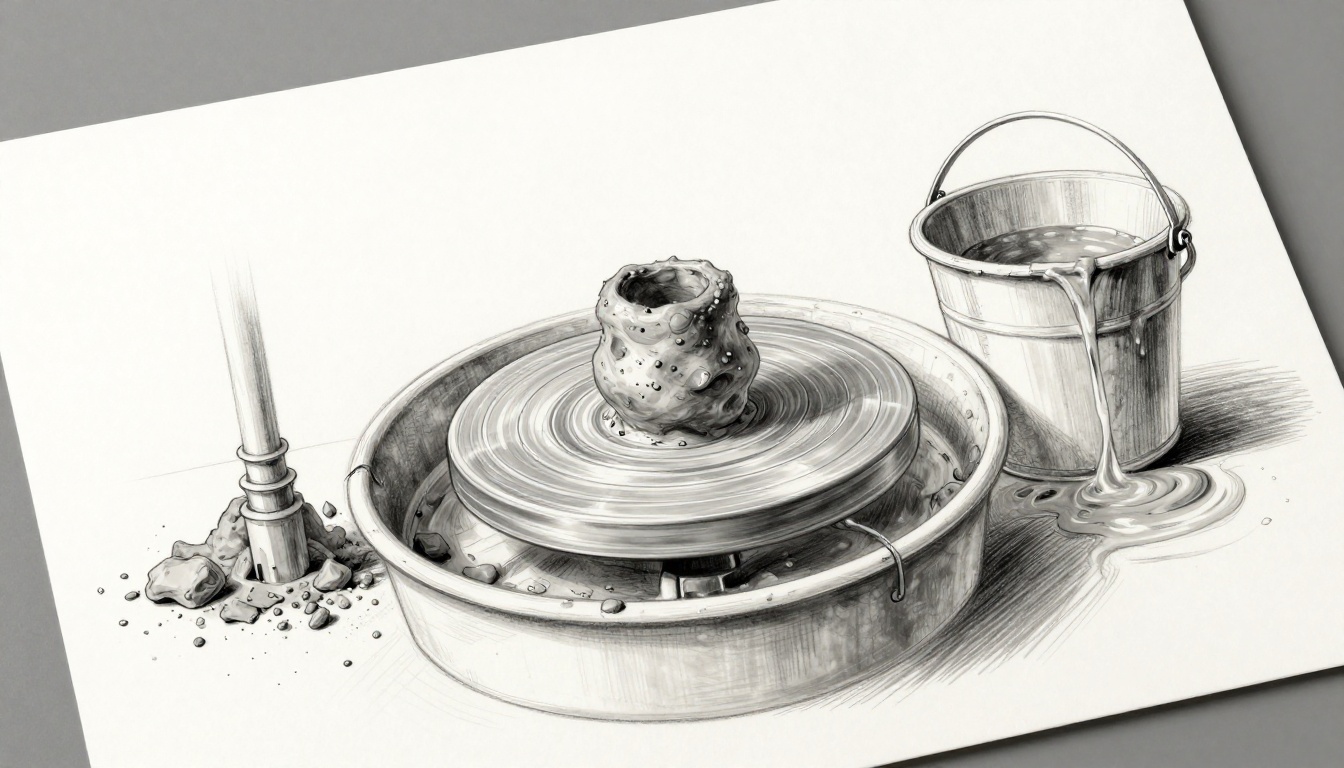
Picture this: you’re knee-deep in a pottery session, scraps piling up and that silty water from your wheel begging to go down the drain. One quick pour later, your sink gurgles, slows, then clogs solid. Suddenly, you’re facing a plumber bill instead of finishing your mug.
Clay scraps and silty water pose real headaches because those fine particles slip through screens and build up in pipes. They create stubborn blockages that no plunger can fix. Worse, if they reach sewers or rivers, they harm aquatic life by smothering habitats and blocking sunlight.
That’s why learning to dispose of clay scraps and silty water properly saves your plumbing, cuts repair costs, and keeps our waterways clean. You’ll protect your home and studio while doing right by the planet.
Stick around. We’ll cover why this matters for every potter, safe methods for scraps, step-by-step silty water handling, and pro tips to dodge common pitfalls.
getRelevantLinks("pottery clay scraps silty water drain clogs statistics environmental impact")
getRelevantLinks("pottery studio waste sewer blockages fines plumbers costs")
getRealtimeData("statistics on art studio or pottery drain clogs from clay waste")
getRealtimeData("environmental impact of pottery silty water on waterways rivers")
Smart Ways to Get Rid of Clay Scraps Without the Hassle
Clay scraps build up fast in any studio. You need quick fixes that save time and space. These three methods handle scraps without drama. Pick one based on your setup. All keep things safe and simple. Wear gloves always to protect your hands from dust.
Dry and Trash Your Scraps the Easy Way
Dry clay tosses easy because it crumbles light and dry. Wet scraps weigh tons and risk clogs. This approach clears space fast. Use a sunny windowsill or fan to speed drying.
Follow these steps for clean results:
- Scrape scraps off tools and wheel. Spread them thin, about 1/4 inch, on plaster slabs or layers of newspaper. Plaster pulls moisture quick.
- Let air dry 1 to 3 days. Flip pieces halfway for even drying. Fans cut time in half.
- Break dried chunks into pea-sized bits. Use your hands, a mallet, or rolling pin.
- Double-bag pieces in sturdy trash bags. Twist tops tight to stop dust leaks.
- Add to curbside trash. Label bags if rules require.
This works because dry clay compacts well in landfills. It stays light and stable. No tools needed beyond basics you own.
Pros include speed and zero cost. However, drying takes floor room. Store scraps in sealed buckets meantime to avoid mess.
Some cities provide pottery waste pickup. Call your waste department to check.
Recycle Scraps into Fresh Clay Slip
Turn scraps back into usable clay. This zero-waste trick saves money on new bags. You make slip first, then reform it. A big bucket does the job.
Cut scraps into small bits. Submerge in water for 24 hours to slake, or soften. It turns to slurry fast.
Next steps guide you through:
- Chop dry or semi-dry scraps small. Fill a bucket halfway with pieces.
- Add water to cover by 2 inches. Stir once, then wait 24 hours. Scraps dissolve into thick slip.
- Blend smooth with a stick or mixer. Let settle 1-2 days so grit drops.
- Pour off top water. Sponge excess from surface.
- Spread slip thin to dry back to wedging stage. Knead when firm.
Tools stay basic: plastic bucket, sponge, optional sieve. Benefits hit hard. You cut buying costs and fill no trash. If slip feels gritty, sieve through window screen.
Reuse forever with low-grog clay. Test small batches first.
Repurpose Scraps for Garden or Art Projects
Give scraps new life outside the studio. Dried powder mixes into garden soil or crafts. Earthenware clay works best. Skip polymer types; they harm plants.
Crush dry scraps to fine powder. Mix 1 part clay to 4 parts compost. It improves heavy soil drainage.
Other ideas spark creativity:
- Press powder into mosaic tiles for paths. Fire or seal if needed.
- Shape garden markers. Stamp names before drying.
- Blend into homemade hypertufa pots. Add peat and cement.
Test on small plant patches first. Watch for pH changes. Avoid glazed scraps; toxins linger in soil.
Community swaps build fun. Post free clay on local potter Facebook groups. Others grab it quick.
These methods keep your space clear. Choose what fits your routine.
getRelevantLinks("pottery silty water disposal settling buckets two bucket method")
getRelevantLinks("municipal rules home drain clay water pottery waste legal")
getRelevantLinks("DIY pottery water filter gravel sand cloth shop vac plaster bats")
generateImage '{"sectionTitle": "Set Up a Bucket Settling Station", "imageIntent": "simple diagram showing two-bucket settling process for pottery silty water: first bucket with rinse water poured in, clay particles sinking to bottom after 24 hours, clear water on top being siphoned or poured off with turkey baster, sludge transferred to second bucket to dry", "prompt": "hand-drawn sketch diagram of two plastic buckets side by side for pottery silty water settling process, arrows showing rinse water pour into first bucket, clay silt sinking at bottom after time, turkey baster siphoning clear top water, sludge scoop to second bucket, graphite linework light shading clean white paper background no text"}'
generateImage '{"sectionTitle": "Advanced Filter Options for Cleaner Results", "imageIntent": "DIY filter setup with layers of gravel sand and cloth in a pot for pottery silty water plus shop vac capturing sludge and plaster bat absorbing water", "prompt": "hand-drawn sketch of pottery studio filter setups, one pot layered with gravel at bottom then sand then cloth filter with silty water pouring through, nearby shop vac sucking up wet sludge from bucket, plaster bat slab soaking water from tray, graphite linework light shading clean white paper background no text"}'
Handle Silty Water So It Never Hits Your Drain
Silty water from your wheel or tools seems easy to rinse away. However, those fine clay bits sink in pipes and cause big clogs. You avoid this mess with a simple settling system. It lets solids drop out so you pour only clear water down the drain. Best part? It costs little and fits any studio.
Start with two buckets. This setup keeps everything contained and clean. You’ll save time and cash on fixes.
Set Up a Bucket Settling Station
Grab two large plastic buckets, each with a tight lid. Five-gallon sizes work great because they hold a week’s rinses. Label one “Silty Rinse” and the other “Sludge Dry.” Place the rinse bucket right by your sink for easy access.
Always pour tool rinse water into the first bucket. No exceptions. The clay particles, denser than water, settle fast to the bottom. In 24 hours, you see a clear layer on top.
After waiting, use a turkey baster or hose to siphon off that clear water. Pour it slowly down the drain. Most home sewers handle clear water fine. Still, check your local rules first; some cities restrict it.
Transfer the thick sludge to the second bucket. Let it sit there to dry more. Empty sludge weekly into your scrap drying area. Total setup runs under $20.
Here’s what you need:
- Two 5-gallon buckets with lids
- Turkey baster or small hose
- Labels and marker
- Optional coffee filter or cloth over the bucket top for finer bits

Diagram of the two-bucket settling process.
This method works because gravity pulls heavy clay down. Clear water stays safe for drains.
Pour Off Clear Water and Dry the Sludge
Once silt settles, tilt the bucket gently. Pour the top clear water into another container or straight outside with a hose. Go slow to avoid stirring up particles.
Spread the leftover sludge thin on plaster slabs or newspaper, just like clay scraps. Air dry it for 2 to 3 days. Flip once for even results. Fans speed things up.
When crumbly and dry, crush it small. Bag it double and toss in trash. No clogs, no worries.
Do this outdoors if space allows. It prevents indoor dust. Your pipes stay happy.
Advanced Filter Options for Cleaner Results
Want faster or finer results? Build a DIY filter. Layer gravel, then sand, then cloth in a large pot or bucket. Pour silty water through slowly. Solids trap while clean water flows out.
For quick cleanup, grab a shop vac with wet/dry mode. It sucks up sludge straight from the bucket. Empty the vac into your dry area later.
Studios love plaster bats too. They absorb water fast from rinses. Place one in a tray, rinse over it, then dry the bat outside.
DIY filter layers and tools like shop vac and plaster bat.
These steps cut settling time. Pick what matches your routine. For example, this pottery guide details settling basics. Always confirm local drain rules for clay water.
getRelevantLinks("pottery studio common mistakes clay scraps disposal wet trash mold clogs buildup")
getRelevantLinks("pottery pugmill reclaiming clay scraps recommendations")
getRelevantLinks("pottery community groups forums advice clean studios")
generateImage '{"sectionTitle": "Pitfalls to Skip and Pro Tips for Clean Studios", "imageIntent": "hand-drawn sketch contrasting pottery pitfalls like wet scraps in trash bag molding, silty water poured down drain clogging, ignored bucket buildup, with pro tips side: clean studio with absorbent mats pugmill settling buckets fan ventilation", "prompt": "hand-drawn sketch split scene pottery studio pitfalls left side wet clay scraps in trash bag with mold spots silty water pouring into sink drain clogging pipe ignored overflowing bucket sludge, right side pro tips clean setup absorbent mats under wheel pugmill machine two settling buckets ventilation fan open window, graphite linework light shading clean white paper background no text"}'
Pitfalls to Skip and Pro Tips for Clean Studios
You follow the steps, but small slips turn your studio into a mess. Common pitfalls waste time and money. However, simple pro tips fix that fast. Avoid these errors, and adopt habits that keep everything smooth. Your space stays workable and safe.
5 Pitfalls That Ruin Your Flow
Many potters trip on these. They lead to mold, clogs, or health issues. Spot them early to stay ahead.
- Dumping wet scraps in the trash. Moisture breeds mold inside bags. It leaks stink and attracts bugs. Always dry first.
- Pouring silty water straight down the drain. Fine particles stick in pipes. You face plumber bills soon. Use buckets instead.
- Ignoring buildup in settling buckets. Sludge overflows or hardens. Clean them weekly to prevent spills.
- Skipping gloves or ventilation. Dust irritates skin and lungs. It builds up on surfaces too.
- Overlooking local waste rules. Fines hit hard for improper disposal. Check city guidelines before tossing.
These mistakes snowball quick. For example, one clogged drain costs hundreds. Steer clear, and you save hassle.
Pro Tips for Long-Term Cleanliness
Build better routines now. They make disposal second nature. Start small for big wins.
First, do weekly cleanouts. Empty buckets and scrub surfaces. It stops buildup before problems start.
Next, lay down absorbent mats under your wheel and sink. They catch drips and dry fast. No more slippery floors.
In addition, join local potter groups. Facebook communities share advice on rules and tools. You learn from real experiences, like this active pottery forum.
Most importantly, focus on safety basics. Ventilate with fans during drying. Wash hands after handling sludge. Dust harms lungs over time.
Finally, future-proof with a pugmill. It reclaims scraps into fresh clay automatically. Check pugmill reviews for potters if you work big volumes.
Pitfalls on the left, pro setup on the right.
What pitfalls have you skipped lately? Drop your tips in the comments below.
Conclusion
Dry your clay scraps before trashing, recycle them into slip, or repurpose for gardens. For silty water, always settle it first, then pour off the clear top. These steps stop clogs and protect pipes, just like they prevent that sink nightmare from your first pottery session.
Small habits like weekly bucket cleanouts make a huge difference. You keep your studio spotless and waterways safe. In short, proper disposal lets you focus on creating.
Try the two-bucket method this week. Share your photos or questions in the comments. Subscribe for more pottery tips, and create worry-free from now on.