Imagine holding a simple piece of balsa wood. You shape it into a tiny airplane or ship with your own hands. Wooden modeling sparks joy and calm. It builds patience and skill one cut at a time.
This hobby fits any schedule. You need few tools to start. We cover a craft knife, coping saw, files, sandpaper, and clamps. You’ll learn safety first. Then tool basics, techniques, projects, and fixes for mistakes. Grab your gear. Your first model waits.
Set Up a Safe Space Before You Cut
Safety keeps modeling fun. Accidents end sessions fast. Start with a solid setup. You protect yourself and your home. A good space lets you focus.
Choose a flat table in a quiet spot. Keep kids and pets away. Use bright lights to see details. Good air flow clears dust. These steps prevent slips and poor work.
Pick the Perfect Workspace
Find a sturdy table at waist height. It reduces back strain. Add a lamp for shadow-free light. Open a window or use a fan for ventilation.
Organize tools in clear bins. Label them for quick grabs. Avoid beds or carpets. They trap dust and cause slips. A dedicated corner sharpens your mind. You work better without mess.
In short, treat your space like a mini workshop. It pays off in clean cuts and calm sessions.
Grab These Safety Must-Haves
Wear safety glasses every time. They block flying chips. A dust mask filters fine particles. Your lungs stay clear.
Cut-resistant gloves grip wood. They shield from slips. Keep a first-aid kit close. Stock bandages and antiseptic.
Buy affordable sets at hobby stores. For example, 3M safety glasses work well for beginners. Gloves from Mechanix suit small hands. Put them on before you touch tools. Habits save fingers.
Check your setup with this quick list:
- Glasses on?
- Mask fitted?
- Gloves snug?
- Kit nearby?
Follow it each session. You build safe routines fast.

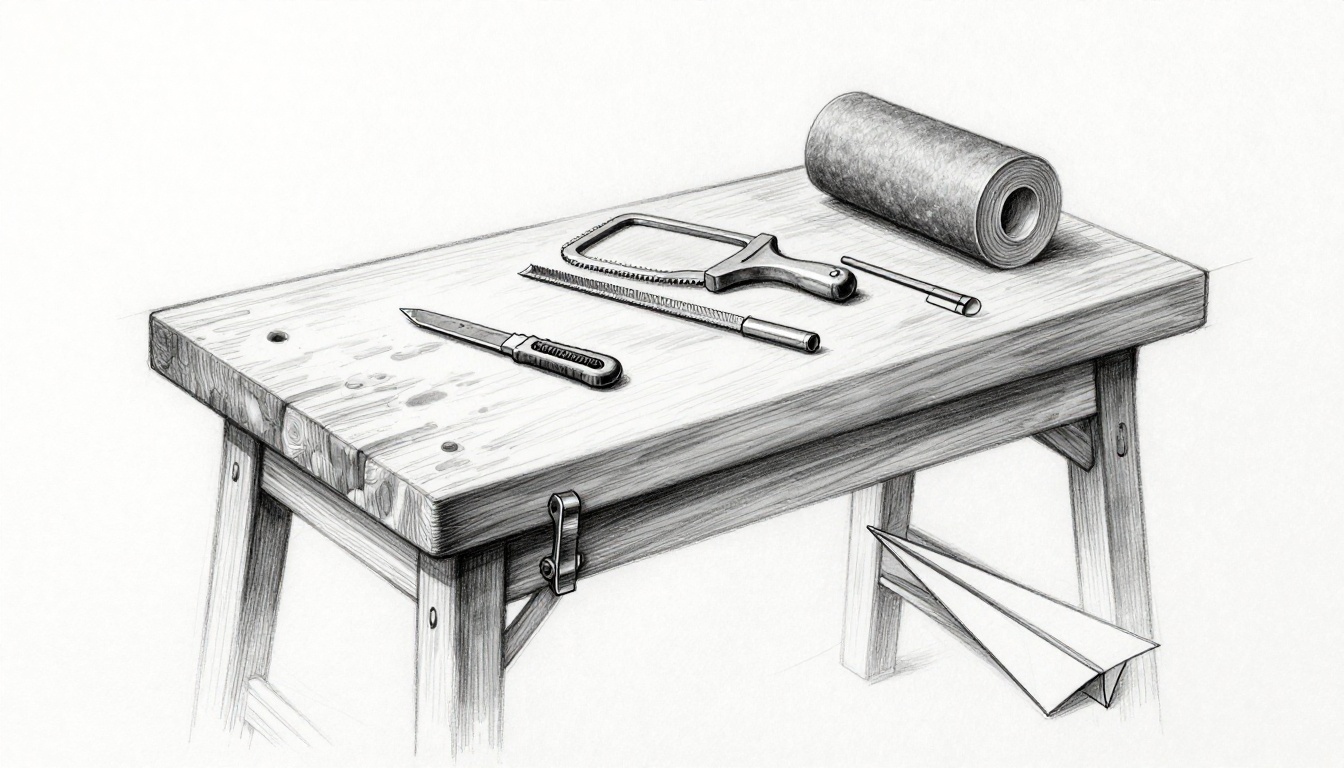
Your Starter Kit: Essential Wooden Modeling Tools
You don’t need fancy gear. Five basics handle most jobs. They cost under $20 each. Buy quality to last. Source them online or at hobby shops like Hobby Lobby. Start small. Add more later.
These tools shape, smooth, and join wood. Practice on scraps first. Confidence grows quick.
Craft Knife for Precise Cuts
A craft knife slices thin wood clean. Pick an X-Acto style with snap-off blades. Keep it sharp for control.
Store blades in a case. Use the safety cap when idle. It prevents pockets nicks. Score lines first. Then snap through. Save deeper cuts for the saw.
Coping Saw for Wood Shaping
This saw cuts curves and straights. Its frame holds thin blades. Choose fine-tooth ones for balsa. Tension them tight with the wing nut.
It excels on soft woods. Light strokes follow your line. Swap blades for tight turns. You shape hulls or wings easy.
Files and Sandpaper for Smooth Finishes
Needle files reach corners. Use them for metal-free woodwork. Sandpaper sheets come in grits. Start with 120 for rough. Finish at 400 for polish.
Match grit to need. Coarse removes fast. Fine buffs shine. Fold sheets for edges. Dust off often.
Clamps to Hold Pieces Steady
Clamps lock parts during glue dry. Spring clamps snap on quick. C-clamps adjust for size. Get four small ones.
Apply wood glue thin. Clamps press joints tight. Wait 30 minutes. Strong bonds form.

Learn to Use Tools with Confidence: Step-by-Step Techniques
Handle tools right from day one. Follow steps on scrap wood. You avoid waste. Pro tips give clean results. Dull blades cause tears. Sharpen or replace often.
Practice builds speed. Relax your grip. Let the tool do work.
Master Straight and Curved Cuts
- Mark your line with pencil. Use a ruler for straights.
- Score with craft knife. Light passes deepen the groove.
- Clamp wood firm. Start coping saw at waste end.
- Saw slow. Let teeth cut. Multiple passes work best.
For curves, relax wrist. Follow the line smooth. A miter box guides angles. Practice 10 cuts daily. Lines stay true.
File, Sand, and Polish Edges
- File high spots first. Needle file fits notches. Short strokes even surface.
- Progress to sandpaper. 120 grit roughs. 220 smooths. 400 polishes.
- Sand with grain. Wrap paper on block for flats.
- Wipe dust. Wet cloth reveals flaws.
Even pressure prevents dips. Check often by touch. Smooth feels like glass.
Glue and Clamp for Strong Joints
- Dry fit parts. Align perfect.
- Spread glue thin. Wood glue bonds best.
- Press together. Wipe squeeze-out fast.
- Clamp 20-30 minutes. Tape reinforces weak spots.
Butt joints suit basics. Miters add style later. Test dry first. No gaps mean strong holds.

Build Your First Model: Simple Projects to Try
Apply skills now. Two easy builds use balsa sheets. Buy 1/16-inch thick. Cost under $10. Time: 30-60 minutes each. Snap progress photos. Share your wins.
Free plans abound online. Check Outerzone for balsa designs for ideas.
Whittle a Basic Wooden Box
Materials: Balsa sheet, glue, sandpaper.
- Cut four sides 2×1 inches. Base and lid same size.
- File corners round. Sand all smooth.
- Glue sides to base. Clamp overnight.
- Hinge lid with tape or glue strip.
Done in 30 minutes. Store small bits inside. It teaches joins perfect.
Assemble a Mini Model Airplane
Materials: Balsa sticks, scrap sheet, glue. Wingspan 8 inches.
- Cut fuselage 6 inches long. Taper nose.
- Shape wings flat. 4-inch span each.
- Glue cross braces. Balance on finger.
- Sand full. Add prop from scrap circle.
Fly it gentle. Tweak for straight glide. Your skills shine here.

Skip These Rookie Mistakes and Level Up Fast
Newbies rush cuts. Lines wander. Slow down. Mark twice, cut once.
Ignore dust buildup. It dulls blades. Vacuum often. Wear mask always.
Over-glue oozes. Wipe quick. Use less next time.
Skip clamps. Joints fail. Hold firm 30 minutes min.
Dull tools tear wood. Swap blades weekly. Sharpen files too.
Fixes build pros. Practice 15 minutes daily. You level up fast. Errors teach best.
Wooden modeling rewards patience. Master basics. Custom ships follow.
Start small today. Enjoy each cut. Grab balsa and tools now. Build that box or plane. Share your first model in comments. What project calls you next? Your hobby grows from here.
(Word count: 1487)