Picture this. You spend hours shaping a solid clay figure. It looks perfect on the shelf. Then, the kiln fires it up. Cracks spiderweb across the surface. Your heart sinks because the piece shatters.
Solid clay thicker than one inch causes these disasters. The outside dries fast. The core stays wet. Tension builds, and splits form during drying or firing. Hollowing out your solid clay sculpture before firing fixes that. It creates uniform walls under three-quarters inch thick. You get even shrinkage and strong results.
This guide walks you through every step. You’ll learn tools, techniques, and tips. Beginners can follow along easily. Soon, your sculptures fire crack-free. Let’s get started.
Why Hollowing Out Your Clay Sculpture is a Must Before Firing
Clay behaves like wet sand in a bucket. Squeeze too hard, and it fights back. Solid pieces over one inch thick dry unevenly. The surface hardens first. Moisture traps inside. Stress pulls the clay apart.
Cracks start small. They grow during firing because heat amplifies the tension. However, hollowing removes that core moisture. Walls stay consistent. Shrinkage happens at the same rate everywhere.
Aim for walls no thicker than three-quarters inch. Thinner works too, around half-inch for most pieces. Do this at the leather-hard stage. That’s when clay firms up but still cuts clean. Hand-built sculptures need it most. Wheel-thrown pots often start hollow anyway.
Lighter weight helps too. You handle pieces easier. Firing speeds up because heat penetrates faster. Plus, air pockets inside solid clay explode in the kiln. They build steam pressure. Hollowing prevents that blast.
For more on clay drying science, check Ceramic Arts Network’s explanation. In short, hollow now. Save your work from heartbreak later.
Gather These Essential Tools for Smooth Hollowing
Start with basics you likely own. A fettling knife or pottery rib cuts clean access holes. It slices without tearing leather-hard clay.
Next, grab a loop tool or surform rasp. These scoop out chunks fast. Loop tools carve precise paths. Surforms grate like cheese graters for rough interiors.
Measure walls with calipers or a needle tool. Poke test holes to check thickness. You need uniformity.
Clay slip seals everything. Mix scraps with water for a milky paste. Sponges and a water bucket smooth edges. A dust mask protects your lungs from fine particles.
Wire cutters make sharp entry cuts. Or bend piano wire into loops for cheap tools.
Work clean always. Dust weakens bonds. Rinse tools often. Budget setup costs under $50 at most supply stores.
Here’s a quick rundown:
- Fettling knife: For precise cuts.
- Loop tool: Scoops interior clay.
- Calipers: Measures wall thickness.
- Slip and sponges: Seals and smooths.
- Dust mask: Safety first.
These keep the job smooth. No fancy gear required.

Master the Hollowing Process Step by Step
Leather-hard clay works best. It holds shape but gives under tools. Patience pays off. Check progress often. Rush, and you thin spots unevenly.
Follow these steps in order. Each builds on the last.
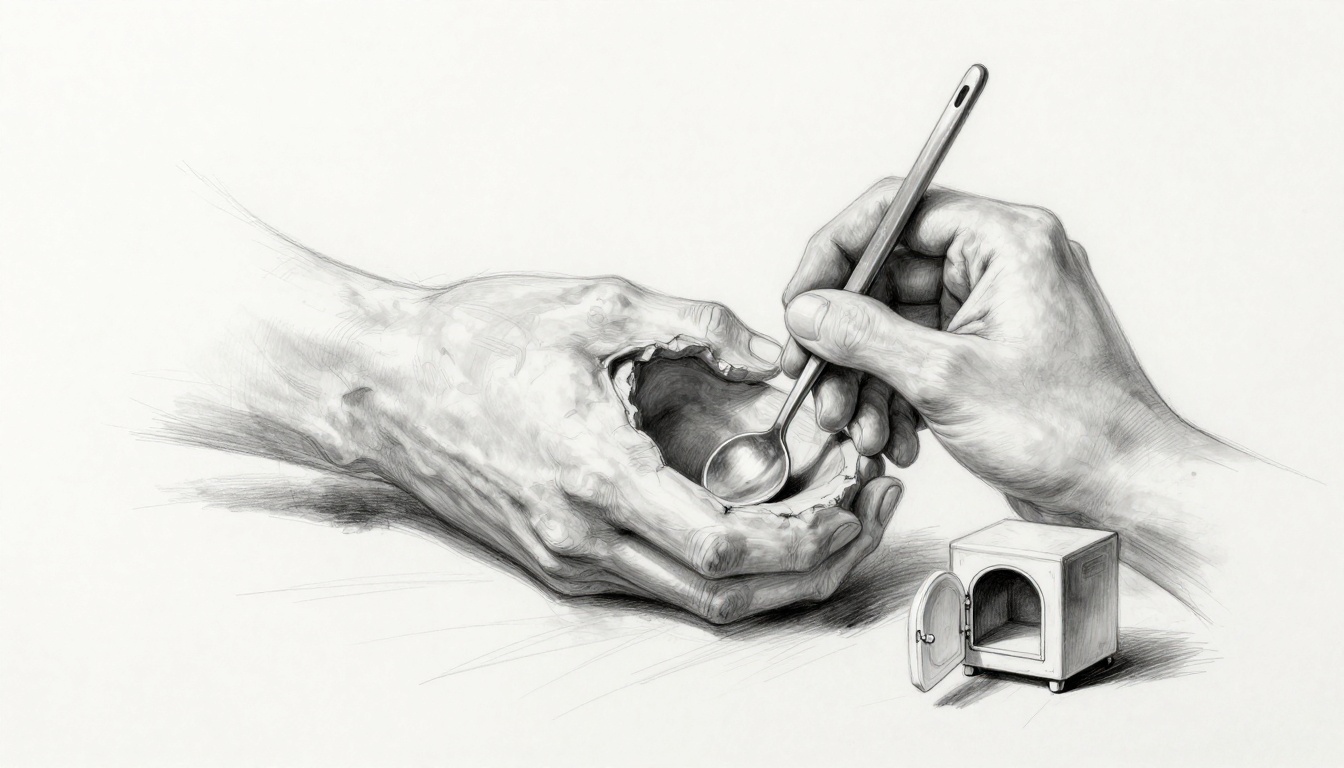
Pick the Perfect Spot and Cut Your Access Hole
Choose the bottom for standing sculptures. Or any hidden underside. The hole needs width. Make it at least one-third the widest body part. Your arm fits through then.
Use wire cutters or a fettling knife. Slice straight down. Avoid twisting. It distorts shapes.
Clean edges right away. Wipe with a damp sponge. Tiny holes trap tools later. Go big from the start.
Scoop Out the Interior Clay Carefully
Reach in from the hole. Break up clay with fingers or loop tool. Pull out fist-sized chunks. Work in layers. Never gouge walls.
Collect scraps. Reuse them for slip or new pieces. Shake the sculpture gently. Loose bits fall out.
Breathe steady. Rushing causes thin spots. Take breaks if needed.

Check Wall Thickness Everywhere for Uniformity
Use calipers everywhere. Aim for half to three-quarter inch. Poke a needle through test spots. Measure from inside out.
Tap walls lightly. A hollow thud means good. Dull thumps signal thick areas. Thin them with a rib tool.
Even thickness stops warping. Mark spots with scratches as you go. Fix one area before moving.
Smooth the Inside Walls and Add Strength
Wipe interiors with a damp sponge. Remove loose bits. Apply thin slip layers. It bonds surfaces like fresh clay.
Compress with a rib. Push out air pockets. Dry slightly between coats. Tall pieces benefit from wire armatures inside.
This step adds durability.
Seal the Access Hole Securely
Fit the cut piece back. Or patch with fresh clay. Score both surfaces. Add slip for glue.
Blend edges smooth. No lumps show after firing. Cover with plastic. Dry slow the first day.
Check the seal after 24 hours. Tug gently. It holds firm now.
For detailed hollowing demos, see Soul Ceramics’ guide.
Dry Your Hollowed Sculpture Right and Prep for Firing
Slow drying prevents new cracks. Cover loosely with plastic. It traps even moisture. Leave it one to two weeks.
Skip direct sun or fans. They dry spots too fast. Check daily. Soft areas get slip fixes.
Shake the piece. No rattles inside. Weigh it light compared to solid start.
Prep for bisque firing next. Use a slow ramp-up. Go to cone 04 over 12 hours. It survives intact.

Avoid These Common Hollowing Mistakes and Fixes
Hollow too soon. Wet clay slumps. Wait for leather-hard. It firms up first.
Clay too dry crumbles. Mist it lightly. Find that sweet spot.
Uneven walls warp in the kiln. Measure often. Adjust as you scoop.
Weak seals leak during firing. Double-check slip bonds. Score deeper next time.
Dust clouds lungs. Wear your mask always. Rinse the air if indoors.
Most fixes happen early. Spot issues quick. Start over only on big fails. You learn fast.
See The Pottery Wheel’s mistake list for more.
Uniform walls deliver crack-free pots every time. Your next solid build fires strong now.
Try this on your current project. Share photos in the comments. What cracked for you before? Subscribe for glazing tips and kiln schedules next.
Pros hollow all thick pieces. You join them soon. Fire with confidence.