Imagine a new potter, excited about her first bowl. She skips the bisque fire and jumps straight to glazing. Hours later, cracks spiderweb across the surface as it cools. That mess happens because she missed the bisque fire, the vital first step in pottery.
Firing changes soft clay into strong ceramics. Two main stages matter most: bisque and glaze. Bisque fire hardens raw clay into a tough base. Glaze fire then melts on a shiny, watertight coat. You need both for pieces that last.
This post breaks it down. You’ll learn what each fire does, their schedules, changes in your clay, and side-by-side differences. Plus, tips to avoid disasters. Let’s get your pots right.
What Happens in a Bisque Fire: Your Pottery’s First Big Test
Bisque firing starts the process. It heats greenware, or unfired clay, to drive out water and burn off organics. This prevents explosions in later firings. Without it, steam builds up inside and shatters your work.
Potters fire bisque at 1650 to 1900 degrees Fahrenheit. That equals cone 04 to 06. The kiln ramps up slowly over 8 to 12 hours. A hold at peak temperature lets everything escape. Then it cools gradually, often overnight.
The result? Porous bisqueware. It’s sturdy enough to handle but soaks up glaze perfectly. You gain strength without full melting. Bisqueware shrinks a bit and lightens in color.
Skipping bisque risks cracks or weak spots. Always do it first. This step makes decorating easier too.
Key Temperatures and Schedules for Bisque Success
Success comes from control. Start with a slow preheat around 200 degrees per hour. This burns out impurities without stress.
Hold at top temperature for 15 to 30 minutes. Then cool at 200 degrees per hour until 1000 degrees. After that, let it air cool.
Electric kilns heat evenly. Gas kilns need more watching for hot spots. Clay type affects it. Earthenware bisques lower; stoneware needs higher.
Monitor with cones. They bend at exact heat. Here’s a sample schedule:
| Stage | Temperature Ramp | Hold Time | Notes |
|---|---|---|---|
| Preheat | 200°F/hour to 1000°F | None | Burns organics |
| Ramp Up | 300°F/hour to peak | 20 min | Cone 04-06 |
| Cool Down | 200°F/hour to 1000°F | None | Prevents cracks |
| Final Cool | Ambient | Overnight | Room temp ready |
This table keeps things simple. Adjust for your kiln. Even heat means no weak spots.
How Bisqueware Changes Your Clay Forever
Clay transforms in bisque. It shrinks 5 to 15 percent, depending on the body. Surfaces turn matte and rough.
Porosity increases. That’s good; glaze sticks well. Strength jumps, but it stays absorbent. No full vitrification yet.
Before, clay feels fragile. After, you stack and paint freely. Colors deepen too. Stoneware goes gray; porcelain whitens.
Potters love this stage. It lets you fix flaws before glazing. Your work handles shipping or storage better now.
Glaze Firing: Turning Matte Bisque into Shiny Masterpieces
Glaze firing finishes the job. You apply glaze to bisqueware first. Then fire higher to melt it into glass. This seals everything.
Temperatures run hotter, 1830 to 2350 degrees Fahrenheit, or cone 5 to 10. Duration stays 8 to 12 hours. Ramps speed up since no moisture lingers.
Glaze matures at peak heat. Chemistry creates colors and shine. The pot becomes waterproof and food-safe, if you choose right glazes.
Do this only on bisque. Raw clay can’t handle it. The change stuns: rough turns glossy. Your art shines for daily use.
Contrast helps see why bisque comes first. Porosity grabs glaze; heat fuses it.
Ideal Glaze Firing Schedules and Kiln Tips
Bisque dries the clay, so preheat quicker, 400 degrees per hour. Reach peak and soak 10 to 60 minutes for melt.
Cool slowly, 100 to 200 degrees per hour. This relieves stress. Use cone packs inside. They confirm accuracy.
Vent the kiln for fumes. Peek through holes to check. Low-fire glazes peak lower; high-fire need more.
Troubleshoot underfiring with dull glaze. Overfiring causes runs. Match schedule to your glaze label.
The Magic Transformation After Glaze Firing
Vitrification seals it. The body and glaze fuse. No pores left; it’s non-porous now.
Shrinkage finishes. Colors pop from metal oxides in glaze. Copper greens; iron browns.
Strength peaks. Pots take hot liquids or microwaves. Gloss adds beauty. Use lead-free for safety.
Clean off kiln drips post-fire. Your piece dazzles, ready for shelves or gifts.

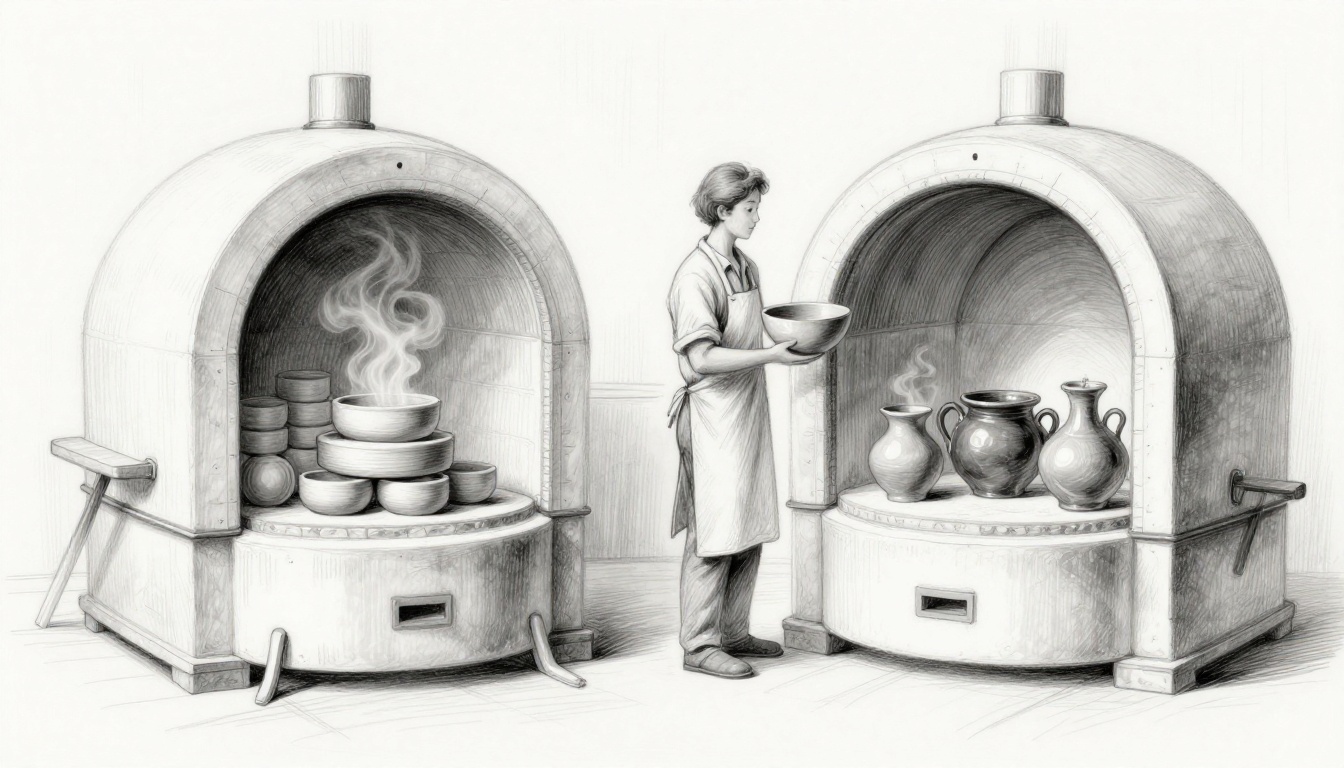
This sketch shows the glow-up clearly.
Bisque Fire vs Glaze Fire: Spot the Differences That Matter Most
Order matters in pottery firing stages. Bisque always first. It preps for glaze. Here’s why differences count.
Bisque builds base strength. Glaze adds finish. Temps, times, and prep vary. Get them right or redo work.
Costs add up too. Bisque uses less energy. Glaze runs hotter, pricier. Know your kiln’s limits.
Never glaze leather-hard clay. It traps moisture. Always bisque first.
Temperature, Timing, and Sequence Breakdown
Bisque peaks lower, around 1800 degrees. Glaze hits 2100 often. Bisque holds shorter.
Sequence locks in: bisque, then glaze. No skips. Total process spans days with cools.
Bisque ramps slowest. Glaze allows faster since dry.
Results and What They Mean for Your Work
Bisque yields absorbent, strong bisqueware. Handle it rough. Glaze seals smooth, pretty pots.
Aesthetics shift: matte to shine. Usability jumps; hold soup now. Bisque aids stacking; glaze wows buyers.
| Aspect | Bisque Fire | Glaze Fire |
|---|---|---|
| Purpose | Harden clay, remove moisture | Melt glaze, seal surface |
| Temperature | 1650-1900°F (cone 04-06) | 1830-2350°F (cone 5-10) |
| Sequence | First | Second, on bisqueware |
| Result | Porous, matte, strong | Glossy, waterproof, vitrified |
| Risks | Cracks from rush | Pinholing, crazing |
This comparison saves time. Refer back often.
Top Tips to Nail Your Bisque and Glaze Firings Every Time
Plan ahead. Test small batches. Log every firing: temps, times, results. Patterns emerge.
Check clay dryness. Even walls prevent cracks. Thickness under one inch works best.
Safety first. Wear gloves. Ventilate. Kiln shelves need stilts for glaze.
Experiment safely. Mix glazes on bisque tests. Note what fires best.
Avoiding Cracks and Other Bisque Blunders
Dry pots slowly, two weeks minimum. Cover loosely.
Ramp under 200 degrees early. Watch for S-cracks; score and slip fix.
Blooms mean impurities. Cleaner clay next time.
Perfect Glaze Application and Firing Hacks
Dip or brush even layers. Wax feet resist drips.
Fire full shelves; pack smart. Clean bases post-fire.
Layer thin for depth. Test compatibility always.
The core split stays simple. Bisque fire strengthens your base. Glaze fire beautifies and protects.
Plan your next project around these steps. You’ll skip the cracks and heartbreak.
Share your firing stories in comments. What cracked your last pot? Subscribe for kiln tips and clay guides. Turn clay into heirlooms today. Your hands create forever pieces.