Picture this. You spend hours shaping a perfect bowl from clay. You fire it, full of hope. Then, disaster strikes: cracks spiderweb across it, or it explodes in the kiln. That pain hits every beginner potter. It happens because the clay held hidden moisture.
Bone dry clay changes everything. At this stage, all water evaporates, leaving stiff, light material safe for firing. No steam builds up to cause bursts or weak spots. This post breaks it down. You’ll learn drying stages, visual cues, hands-on tests, and smart drying tips. Soon, you’ll spot readiness every time for flawless results.
Grasp Clay Drying Stages for Spot-On Firing Timing
Clay goes through clear stages from wet lump to kiln-ready. Each one signals what you can do next. Skip ahead, and you risk big problems like steam explosions. Firing wet clay traps water inside. Heat turns it to steam fast. Boom.
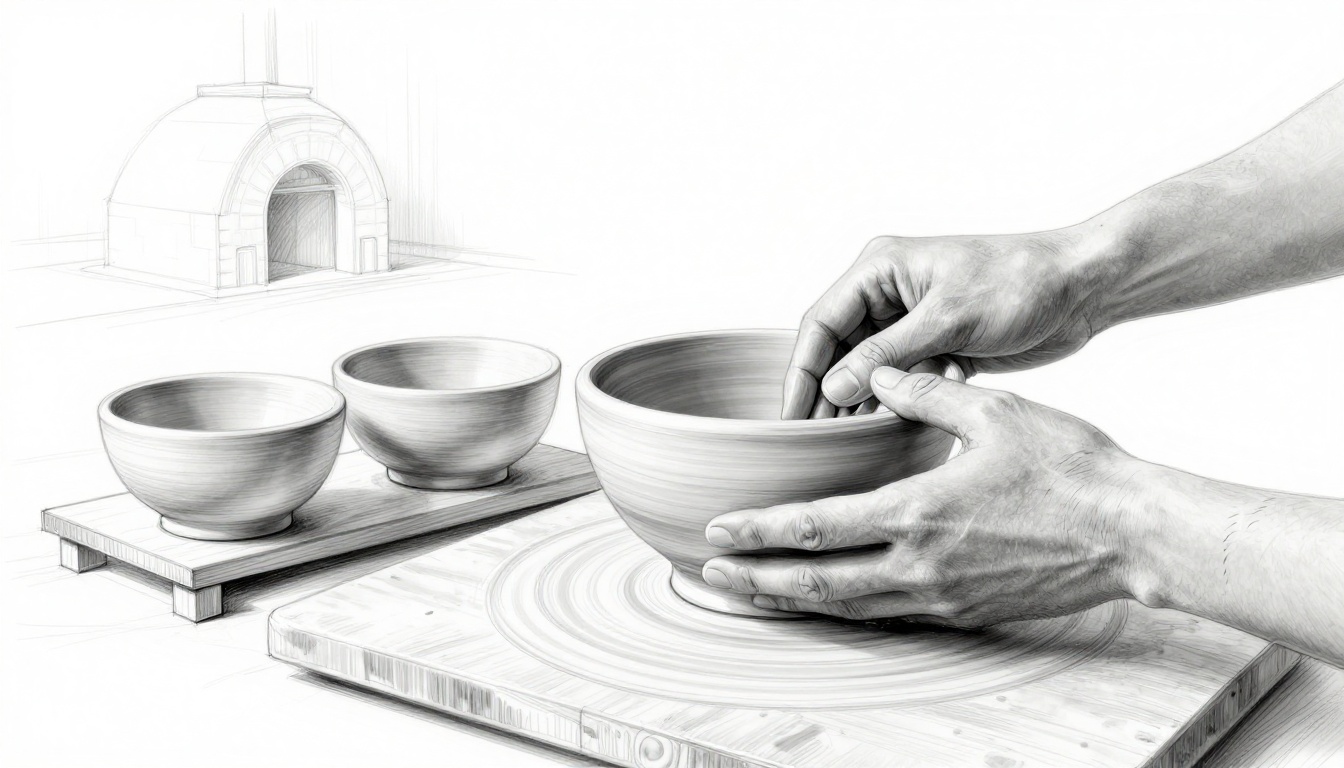
Start with greenware, fresh and soft right after throwing or hand-building. It feels cool, damp, and heavy. You can still join pieces or smooth it. But don’t fire here. Next comes leather hard. Then bone dry, your firing goal.
Thin pieces dry in a few days. Thick slabs or pots take one to four weeks. Factors like humidity slow it down. In humid spots, expect longer waits. Test bars help track it. Make small ones from your batch. Check them without touching your main work. That way, you learn your clay’s pace.
For more on these stages, check Soul Ceramics’ guide to clay drying.
Leather Hard: Still Flexible for Carving
Leather hard clay firms up after a day or two. It stays cool to the touch. Color darkens a bit from moisture. You can bend it slightly without cracking.
This stage shines for details. Carve patterns or trim the base. Add handles too. It loses about 20 percent of its weight here. But don’t mistake it for bone dry. It’s not ready for the kiln yet. Fire it now, and cracks form as water escapes unevenly.
Bone Dry: Light, Stiff, and Firing Safe
Bone dry hits last. Clay lightens to its true color. It stands stiff, no flex at all. Weight drops another 15 to 20 percent from wet.
Feel it at room temperature. No cool dampness lingers. This stage prevents firing fails. Moisture gone means even heat-up. Your pots survive intact.
Spot Visual and Feel Signs Your Clay is Bone Dry
Look close at your piece. Changes shout readiness. Color shifts first. No dark patches mean even drying inside. Surface smooths out too.
Touch tells more. Skip the cool feel of damp clay. Bone dry warms to air temp. Scratch lightly. It powders, not sticks.
These cues work at home, no fancy tools. Watch daily. Progress builds slow but sure.
Color and Shimmer: Your First Clue
Clay pales evenly to its fired shade. Red clay turns pinkish. White clay goes stark. Hold it to light. A faint shimmer appears, like matte paper.
Uneven tones spell trouble. Dark spots hide moisture. Wait longer. For clay color examples, see Digitalfire’s bone dry explanation.
Texture Shift: From Rough to Smooth Dry
Wet clay slicks under fingers. Leather hard grips like leather. Bone dry sharpens edges. Press firm. No give happens.
Scratch the surface. Fine powder forms. That’s your sign. Rough spots smooth as it dries fully.
Run These Quick Tests to Confirm Firing Readiness
Doubts linger? Grab scrap clay. Run simple checks. They confirm bone dry without guesswork. Patience pays off. Log results daily. Patterns emerge fast.
Safety first. Work in a steady space. These tests spot issues early.
Weight It Daily for Steady Progress
Grab a kitchen scale. Weigh your test piece when wet. Note it down.
Check daily. Weight drops quick at first. It stabilizes after 20 percent loss. That’s bone dry. Simple math guides you.
Tap Test: Listen for the Hollow Ring
Practice on dry wood first. Learn the clear ping.
Tap your clay gently. Wet gives a dull thud. Bone dry rings like a bell. Sound travels free without damp muting it.
Bend Test: Does It Snap Clean?
Shape a thin strip, quarter-inch wide.
Bend it after checks. Flex or fold means wait. A crisp snap proves readiness.
Don’t test thick pots this way. Use scraps always.
Dry Your Clay Evenly to Hit Bone Dry Without Cracks
Rush drying causes stress cracks. Control it instead. Set up right. Slow wins for even results.
April brings humid air in many US spots. Extra vigilance helps. Fans move air gentle. No blasts.
Learn from others: Ceramic Arts Network on drying tips.
Set Up the Perfect Drying Space
Aim for 65 to 75 degrees Fahrenheit. Keep humidity 40 to 60 percent. Good airflow matters. Avoid direct sun or drafts.
Cover loosely with plastic first. Trap slow moisture loss. Uncover later for final dry.
Handle Thick or Large Pieces Smartly
Follow the one-week-per-inch rule. Hollow thick bottoms. Dry upside down sometimes.
Bed them in sand or vermiculite. It wicks moisture even. Cracks fade away.
Spot bone dry with color shifts, steady weight, clear taps, and clean snaps. Practice these on scraps. Confidence grows quick.
Next project, test it out. Share your drying wins or woes in the comments. What stage trips you up most? You’ve got this. Fire away happy.