You throw a smooth bowl on the wheel. It spins perfectly into shape. Days later, you find it twisted and cracked on the shelf. Warping strikes again. Clay warps because it loses water unevenly. The surface dries fast. The inside stays wet. Tension builds. The piece bends or splits.
You can fix this. Control the drying speed of clay with simple changes. Moisture leaves slowly and evenly. Your pots stay flat and strong. This post shows why warping happens. It covers workspace setups, building tips, and fixes. Follow along. You’ll get pieces ready for the kiln without heartbreak.
Why Clay Warps and How Drying Speed Causes Trouble
Clay shrinks as it dries. Wet clay holds 20-30% water. It loses most during drying. Shrinkage hits 10-15%. Fast drying stresses the clay. The outside sets first. It pulls on the soft center. Cracks form or edges lift.
Think of a mud patty in hot sun. The top cracks while the bottom stays gooey. Clay acts the same. Air hits the surface hard. Water rushes out. The interior lags. Stress warps slabs or twists pots.
Clay bodies differ too. Grog or sand helps. They let steam escape. But you still need slow drying. Earthenware forgives speed. Stoneware demands care. Porcelain fights every shortcut.
Uneven Moisture Loss: The Main Culprit
Water moves through tiny pores. Capillary action pulls it to the surface. Heat or wind speeds it up. The skin tightens. It yanks the wet core. Edges curl up. Bottoms dome.
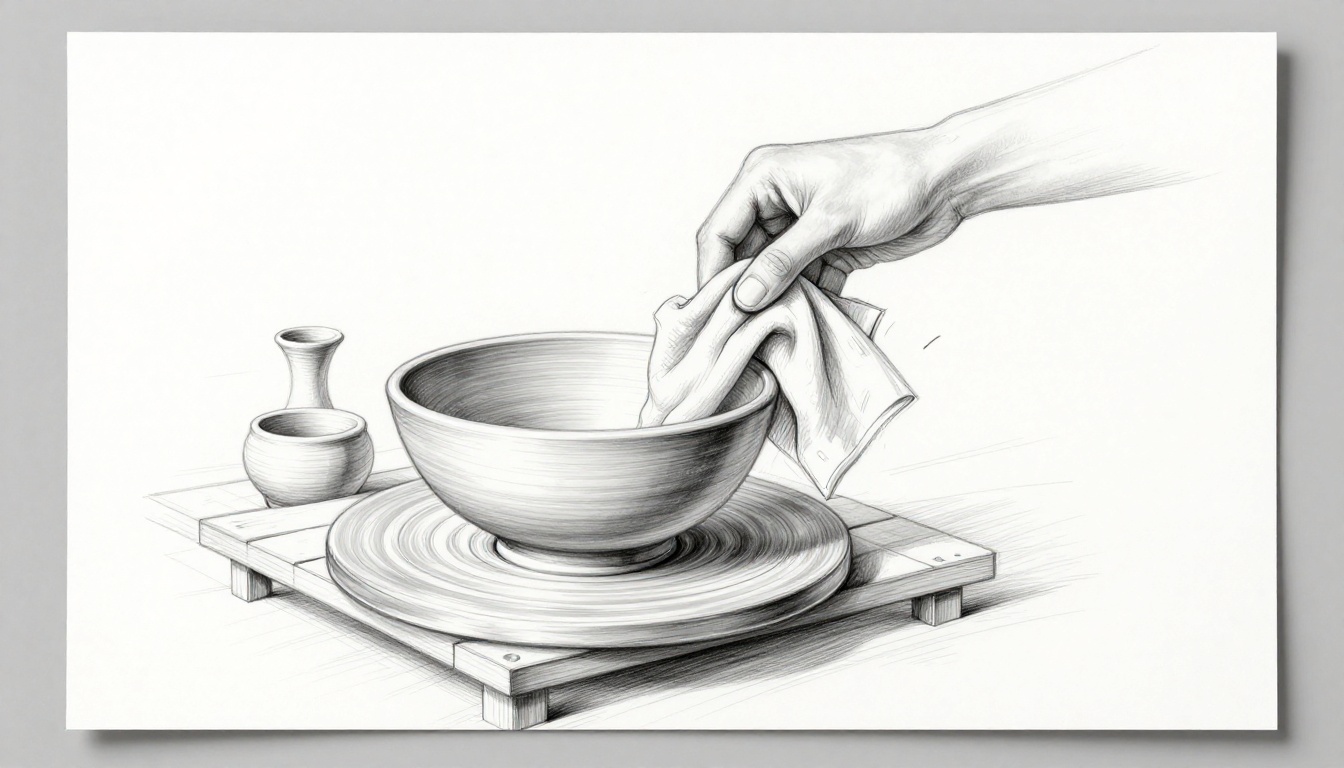
You see D-shaped cracks at rims. Or S-curves on sides. Cover pieces early. Slow the surface. Let the inside catch up.
Clay Types and Their Drying Quirks
Earthenware dries quick. It’s coarse and open. Stoneware shrinks more. Joins weaken fast. Porcelain needs babying. Fine particles trap water tight.
Slabs warp most. Thin spots dry first. Thrown pots fare better if walls stay even.
Here’s a quick comparison:
| Clay Type | Drying Speed | Shrinkage | Best For Beginners? |
|---|---|---|---|
| Earthenware | Fast | 8-12% | Yes |
| Stoneware | Medium | 10-15% | Moderate |
| Porcelain | Slow | 12-18% | No |
For details on clay bodies, check Ceramic Arts Network’s guide to clay types. Match your workspace to the type. Test small batches first.
Master Your Workspace to Slow Clay Drying Evenly
Start here for big wins. Tweak your studio. Aim for 60-80% humidity. Keep temps at 65-75°F. Low airflow helps most.
April weather swings wild. Mornings hit 50% humidity. Afternoons climb to 90%. Basements work best. They hold steady damp. Sunny studios dry pots too fast.
Grab a hygrometer. It’s cheap. Track changes. Add a small humidifier if needed. Use plastic bins for cover.
Boost Humidity Without Fancy Gear
Drape damp towels nearby. Mist the air daily. Slip pieces into bins lined with plastic.
Seal tight for two days. Leave a small gap after. Water evaporates slow. No pools form.
For tiny items, use a bucket. Poke lid holes later. Simple fixes beat cracks.

This setup evens out drying. Pieces stay leather-hard together.
Cut Airflow and Direct Sun
Turn off fans. They wick moisture. Close windows. Pick north windows. Sun bakes one side.
Rotate pots daily. Dry bottoms up on stilts. Even exposure prevents curls.
Smart Wrapping Techniques
Wrap in loose plastic. Tuck ends under. Add damp cloth inside. It feeds humidity.
Poke holes week two. Swap wraps every three days. Mold hates stale air.
See The Potter’s Primer on drying chambers for box ideas.
Hands-On Steps to Build and Dry Warp-Free Pieces
Build even from the start. Thick bottoms warp less. Measure walls with calipers. Compress slabs extra.
Throw with steady speed. Smooth joins well. Slabs need rollers for flatness.
Dry in stages. Bone-dry takes weeks. Rush it and pay.
Build for Even Thickness from the Start
Aim for 3/8-inch walls. Prop overhangs with foam. Dry upright for tall forms.
Compress rims hard. They shrink most.
Create a Simple Drying Chamber
Line a cardboard box with plastic. Drop in a wet sponge. Fit your piece snug.
Seal three days. Crack open halfway week two. Vent fully at leather-hard.
Scale for slabs. Use wardrobe boxes.
Monitor, Flip, and Adjust Daily
Touch test daily. Leather-hard feels cool and firm. Flip pots gently on bats.
Weigh if you like data. Lose 20% for safe dry.
Success comes quick. One potter saved a 20-inch platter this way.
Fix Drying Mistakes Before They Ruin Your Work
Catch warps early. Check twice daily. Edges lifting? Mist and rewrap.
Rushing to bisque tempts fate. Wait full dry.
Spotting and Straightening Early Warps
Press curls flat. Use a rubber rib. Sponge damp on dry spots.
Rewrap tight. Humidity revives slight bends.
Handling Large Slabs and Sculptures
Dry flat between drywall sheets. Flip with bats. Add armatures for curves.
Scrap heavy warps. Salvage light ones.
For more on cracks, read Digitalfire’s clay drying defects.
Key Takeaways for Warp-Free Clay
Control drying speed of clay with even builds and humid spaces. Cover smart. Check often. Your pieces fire strong.
Try the box method next. Share your wins in comments. What warps your work most?
Perfect drying sets up great glazes. Keep pots flat. Fire confident.