Picture this. You pour your evening into a delicate clay figure. Excitement builds as details emerge. But dinner calls, so you leave it out overnight. Morning hits, and cracks mar the surface. Dust clings everywhere. That frustration stings, doesn’t it?
Unfinished clay fights air, drying, and debris. Moist clay shrinks and splits fast. Others attract dirt or deform. Good storage locks in moisture or pliability. It shields from harm. These steps fit any clay type. They use household items. Beginners love the simplicity. Pros save time and clay. You’ll wrap, store, and resume without hassle. Ready to protect your next piece?
Pick the Best Method Based on Your Clay Type
Clay varies a lot. Moist potter’s clay holds water. Air-dry types harden slowly. Polymer stays soft until baked. Pick storage that matches. Wrong choices waste clay. Right ones keep projects fresh for tomorrow.
For example, moist clay needs dampness. Air-dry wants loose cover. Polymer just avoids lint. Test small bits first if unsure. This way, you work smooth next day.
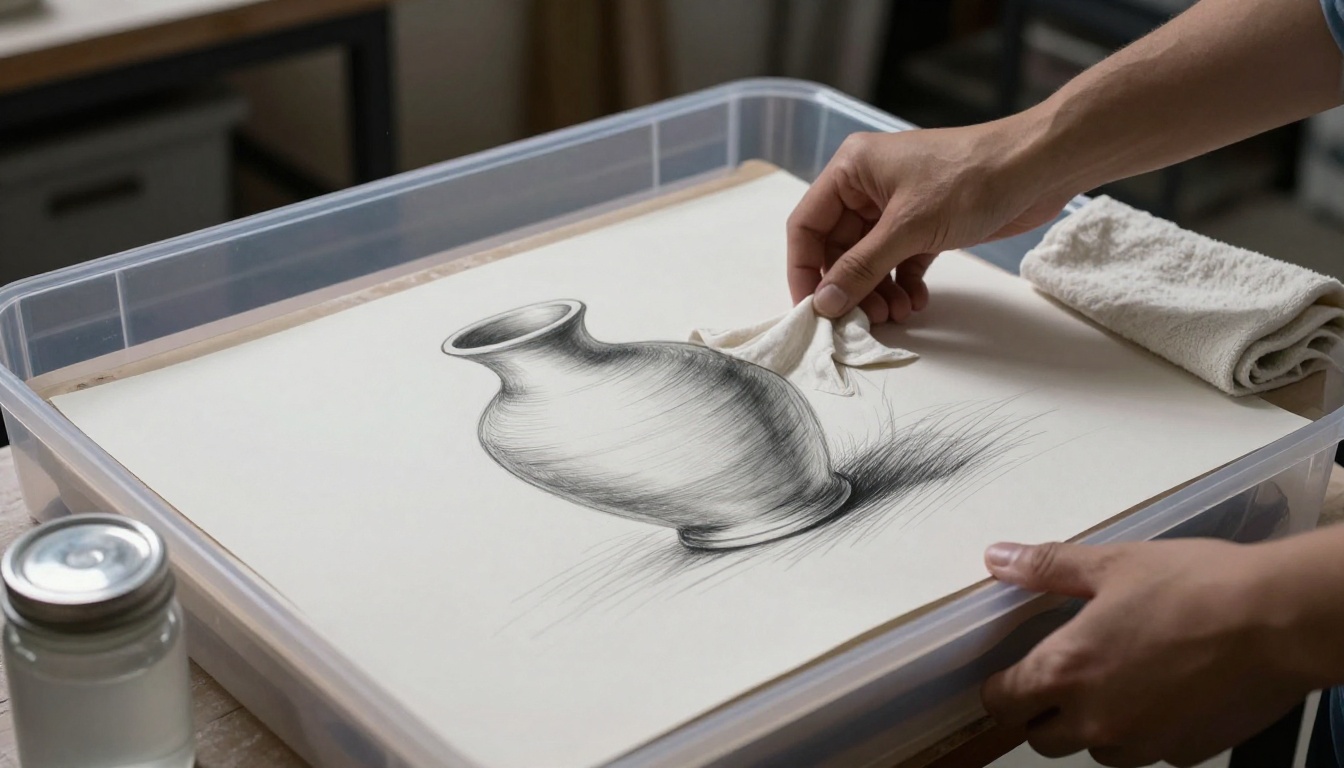
Moist Potter’s Clay: Keep It Damp and Sealed
Natural water-based clays dry quick in air. They shrink. Cracks form fast. Keep moisture steady overnight.
Slip the piece into an airtight plastic bag. Or use a damp box. Spritz water lightly first. Pat dry spots gentle. Wrap in plastic sheeting. No air pockets. Seal tight.
Damp towels work too. Fold around the clay. Place in a lidded bin. Check no drips form pools. Pools lead to soft spots later. For details from experts, see Soul Ceramics clay storage guide.
Humidity stays even. Clay won’t harden overnight.
Air-Dry Clay: Shield from Dust and Dry Air
This clay firms over days. Unfinished bits dry too soon in low humidity. Dust sticks easy.
Cover loose with plastic wrap. Don’t press tight. Sticking ruins shapes. Use trays or boxes with lids. Add a humid cloth nearby if air feels dry.
Humidity slows drying. Keep at 50-60% if you measure. Avoid fans or vents. Clean work area first. No crumbs nearby.
Pieces stay workable. You add layers easy next morning.
Polymer Clay: Simple Bag It to Stay Pliable
Polymer won’t dry out. It softens from body heat. But lint, oils, and weight deform it.
Bag in ziplock. Line with parchment paper. Blocks skin oils transfer. Stack flat. No heavy items on top.
Avoid direct light. It warms uneven. Containers keep shape. Learn more in polymer clay storage tips.
Clay stays ready to condition and shape.

Gather Everyday Supplies for Foolproof Storage
You don’t need store-bought gear. Raid your kitchen or bathroom. Cheap items do the job.
Plastic wrap seals air out. Ziplock bags hold shapes. Spray bottle mists moisture even. Damp towels add humidity.
Airtight bins or Tupperware stack safe. Parchment paper prevents sticking. Foam scraps support tall pieces. Spray bottle with water (distilled if hard water stains).
Damp sponges fit small spots. Labels mark dates. Scissors cut wraps neat.
Find most at dollar stores. Or swap: bread bags for ziplocks. Old pillows for padding. Label projects: “Dragon wing, April 15.” No mix-ups.
Pro tip: Keep a “clay kit” box ready. Five minutes prep saves hours.
Step-by-Step: Wrap and Store Your Project Safely
Follow these steps each night. Takes under five minutes. Clean hands first. No oils transfer.
- Clear your work surface. Wipe crumbs or dust.
- Inspect the clay. Soft spots? Firm them gentle.
- Mist dry areas light if moist clay. Wait 30 seconds.
- Wrap in plastic. Smooth folds. No bubbles trap air.
- Slide into bag or bin. Seal tight.
- Add support if needed. Label date and name.
- Move to storage spot.
Multi-piece projects? Wrap each part separate. Nest in one container. Gentle handling avoids dents.
This routine builds habit. Clay waits patient.
Handle Delicate or Tall Sculptures with Care
Tall figures tip easy. Fragile bits crush under weight.
Crumple foil or foam inside wraps. Props hold pose. Towels pad bases.
Stack low. Heaviest bottom. Leave space between. No leaning towers.
For arms or wings, use cups or rolled towels. Stable setup prevents slumps overnight.
Quick Checks Before You Call It a Night
Double-check these. Saves morning woes.
Is wrap snug but not crushing? Container latched? Spot cool, no drafts? Label clear?
Pet-proof it. No curious paws. Date helps track age.
Spot issues early. Sleep easy.
Choose a Smart Storage Spot and Watch for Pitfalls
Spot matters as much as wrap. Pick cool, dark, stable places. Closets work great. Lower shelves beat high ones.
Avoid windows. Sun dries clay fast. Stay from heaters or AC vents. Drafts suck moisture.
Kitchens trap grease smells. Absorbs into clay. Bathrooms swing humid. Bad for polymer.
Pets roam? High shelf or locked cabinet.
Common pitfalls hurt. Over-tight wraps trap too much wet. Mold grows. Stack high? Top pieces dent.
Loose too much? Dust sneaks in. Morning check: Unwrap slow. Sniff for off smells. Rewrap if needed.
Cool basement corners shine in summer. Test spots with scrap clay first.

Resume Your Project Fresh the Next Morning
Morning comes. Unwrap gentle over tray. Catches bits.
Check surface. Cracks? Soft spots? Rewet moist clay light. Knead in if stiff.
Air-dry feels firm? Good sign. Add wet clay on top.
Polymer? Condition quick. Rolls smooth.
Storage pays off. No start over. Blend new clay seamless. Your vision continues.
Readers share: One stored a bust three days. Perfect resume. Experiment safe now.
For air-dry revival tips, check Spruce Crafts storage advice.
Ready to Save Your Clay Tonight?
Match storage to your clay type first. Grab simple supplies. Wrap step by step. Pick stable spots. Resume fresh.
These habits end cracked disappointments. Try tonight. Your project thrives tomorrow.
Share your hacks in comments. What clay trips you up? Subscribe for more tips. Your next masterpiece waits!
(Word count: 1,482)